Okay, folks, let’s dive into my little project of adding a sidecar to my Harley. I’ve always loved the look of those classic rigs, and I figured, why not give it a shot myself?
The Beginning
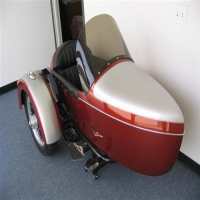
First things first, I had to find a sidecar. I spent weeks scouring online marketplaces, and finally I was lucky enough to find this guy, an old, beat-up one, but with good bones, as they say. It was covered in rust and the upholstery was ripped, but I saw potential. I wanted this work.
Getting Started
So, my first step was the assessment. I checked the frame for any serious damage, looked for cracks, and made sure the wheel and suspension were at least somewhat functional. I was not a pro, so I did not have high standards, anything looked fine for me was OK.
- Rust Removal: Used a wire brush and some serious elbow grease. Then I used chemical rust remover, and I even tried that vinegar soak trick I saw online.
- Frame Repair: Found a couple of small cracks, so I watched some videos on YouTube, and tried to weld them shut. My welds weren’t pretty, but they held.
- Primer and Paint: After all the patching and rust removal, I hit the whole frame with a rust-preventing primer, and then a few coats of glossy black paint. I wanted it to match my Harley’s vibe.
The Interior
The inside of the sidecar was a mess. Ripped fabric, rusty springs…the works. So I gutted it. I removed everything down to the bare frame, and I started from scratch.
- New Springs: I found some replacement springs at a local auto parts store. They weren’t an exact match, but I made them work.
- Padding and Upholstery: I used some thick foam padding for the seat and backrest. For the upholstery, I went with a durable, weather-resistant vinyl. I’m no sewing expert, but I managed to stitch together something that looked halfway decent.
Mounting
This was the trickiest part. Getting the sidecar aligned and securely attached to the bike. I did a lot of research, read forums, and watched more videos. There are specific mounting kits you can buy, but I decided to fabricate my own. It was cheaper, and I liked the challenge.
I used some heavy-duty steel brackets and a lot of trial and error. Measuring, adjusting, tightening, and testing. It took a few days, and a lot of cursing, but I finally got it mounted solid.
Test Rides
The moment of truth! I took it slow at first, just around the block. Getting a feel for the handling, which is very different with a sidecar. It pulls to the side, and you have to steer differently. After a few practice runs, I felt more comfortable, and I took it for a longer ride. It was awesome!
Finishing Touches
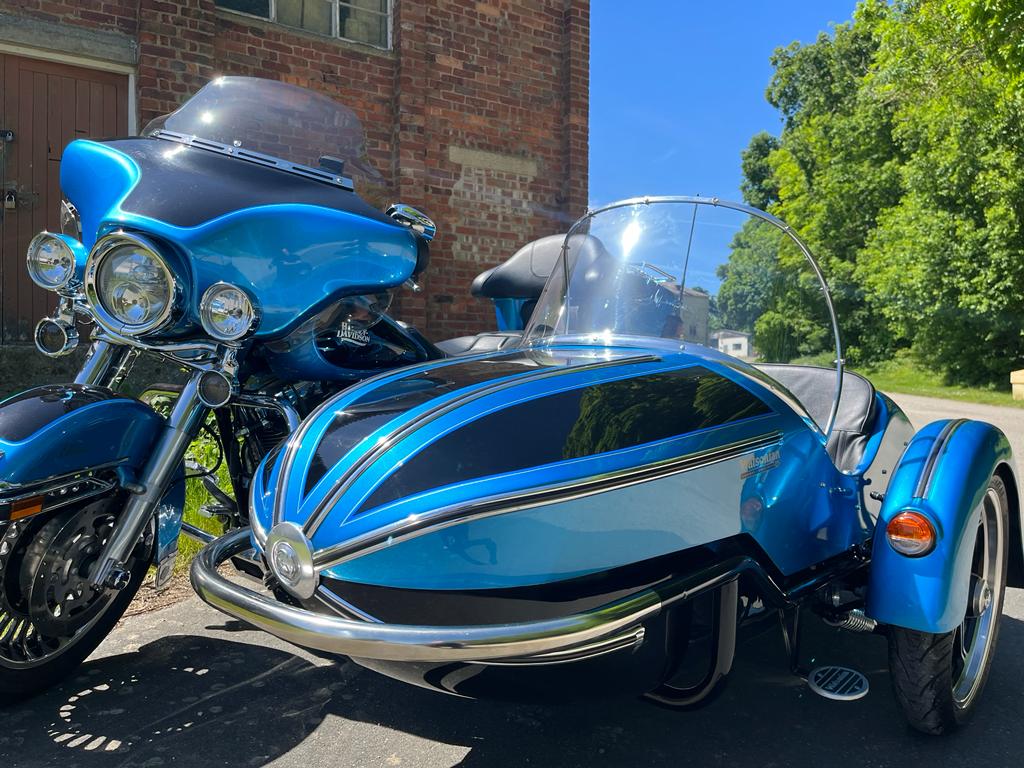
I added a few personal touches: a small windshield, a custom paint job on the sidecar’s body to match my bike’s, and some comfy cushions for the passenger seat. These were my style!
The Result
It was a lot of work, but totally worth it. I now have a unique, head-turning ride. And I did it all myself, which is a pretty great feeling. It’s not perfect, my welds are ugly, and the upholstery is a little lopsided in places, but it’s mine. And it’s a blast to ride. I even take my dog along in the sidecar sometimes – he loves it!
If you’re thinking about doing something like this, I say go for it! Just be prepared for a challenge, and don’t be afraid to get your hands dirty. If I can do it, you can too. Just need to be patient!


