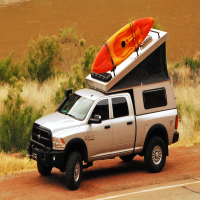
Alright, folks, gather ’round. I wanna tell you about my little project – turning my trusty pickup into a camper. Yeah, you heard that right. A camper. It all started when I got this itch for hitting the road, but I didn’t wanna be tied down to hotels or those clunky RVs. I wanted freedom, man. And I wanted it on a budget.
So, the idea of a pop-up camper for my pickup truck came to mind. I did some digging, and there’s a whole world of these things out there! You got your fancy ones like the Palomino SS-1500, which apparently fits on a half-ton truck. Then there’s the Four Wheel Camper’s Hawk Model – sounds tough, doesn’t it?
I even stumbled upon some list of the 10 best truck campers of 2024, all decked out with the latest tech and gear. And get this, there’s a Kingstar Camino 88 (Adventure Series) that some folks are calling the “Truck Camper Adventure 2024 Truck.” Fancy, huh?
But here’s the thing – I’m not made of money. I needed something practical, something I could maybe even build or modify myself. I started looking at these pop-up truck campers, like the Fofana Truck Bed Tent, thinking maybe I could rig something up.
First things first, I had to figure out the weight situation. I mean, you can’t just slap any old camper on your truck and hope for the best. I learned that you gotta subtract the truck’s weight from its GVWR, which is like, the Gross Vehicle Weight Rating or something. That gives you the cargo weight your truck can handle. Then, you add up all the extra stuff you’re gonna put in the camper to get an idea of the total weight.
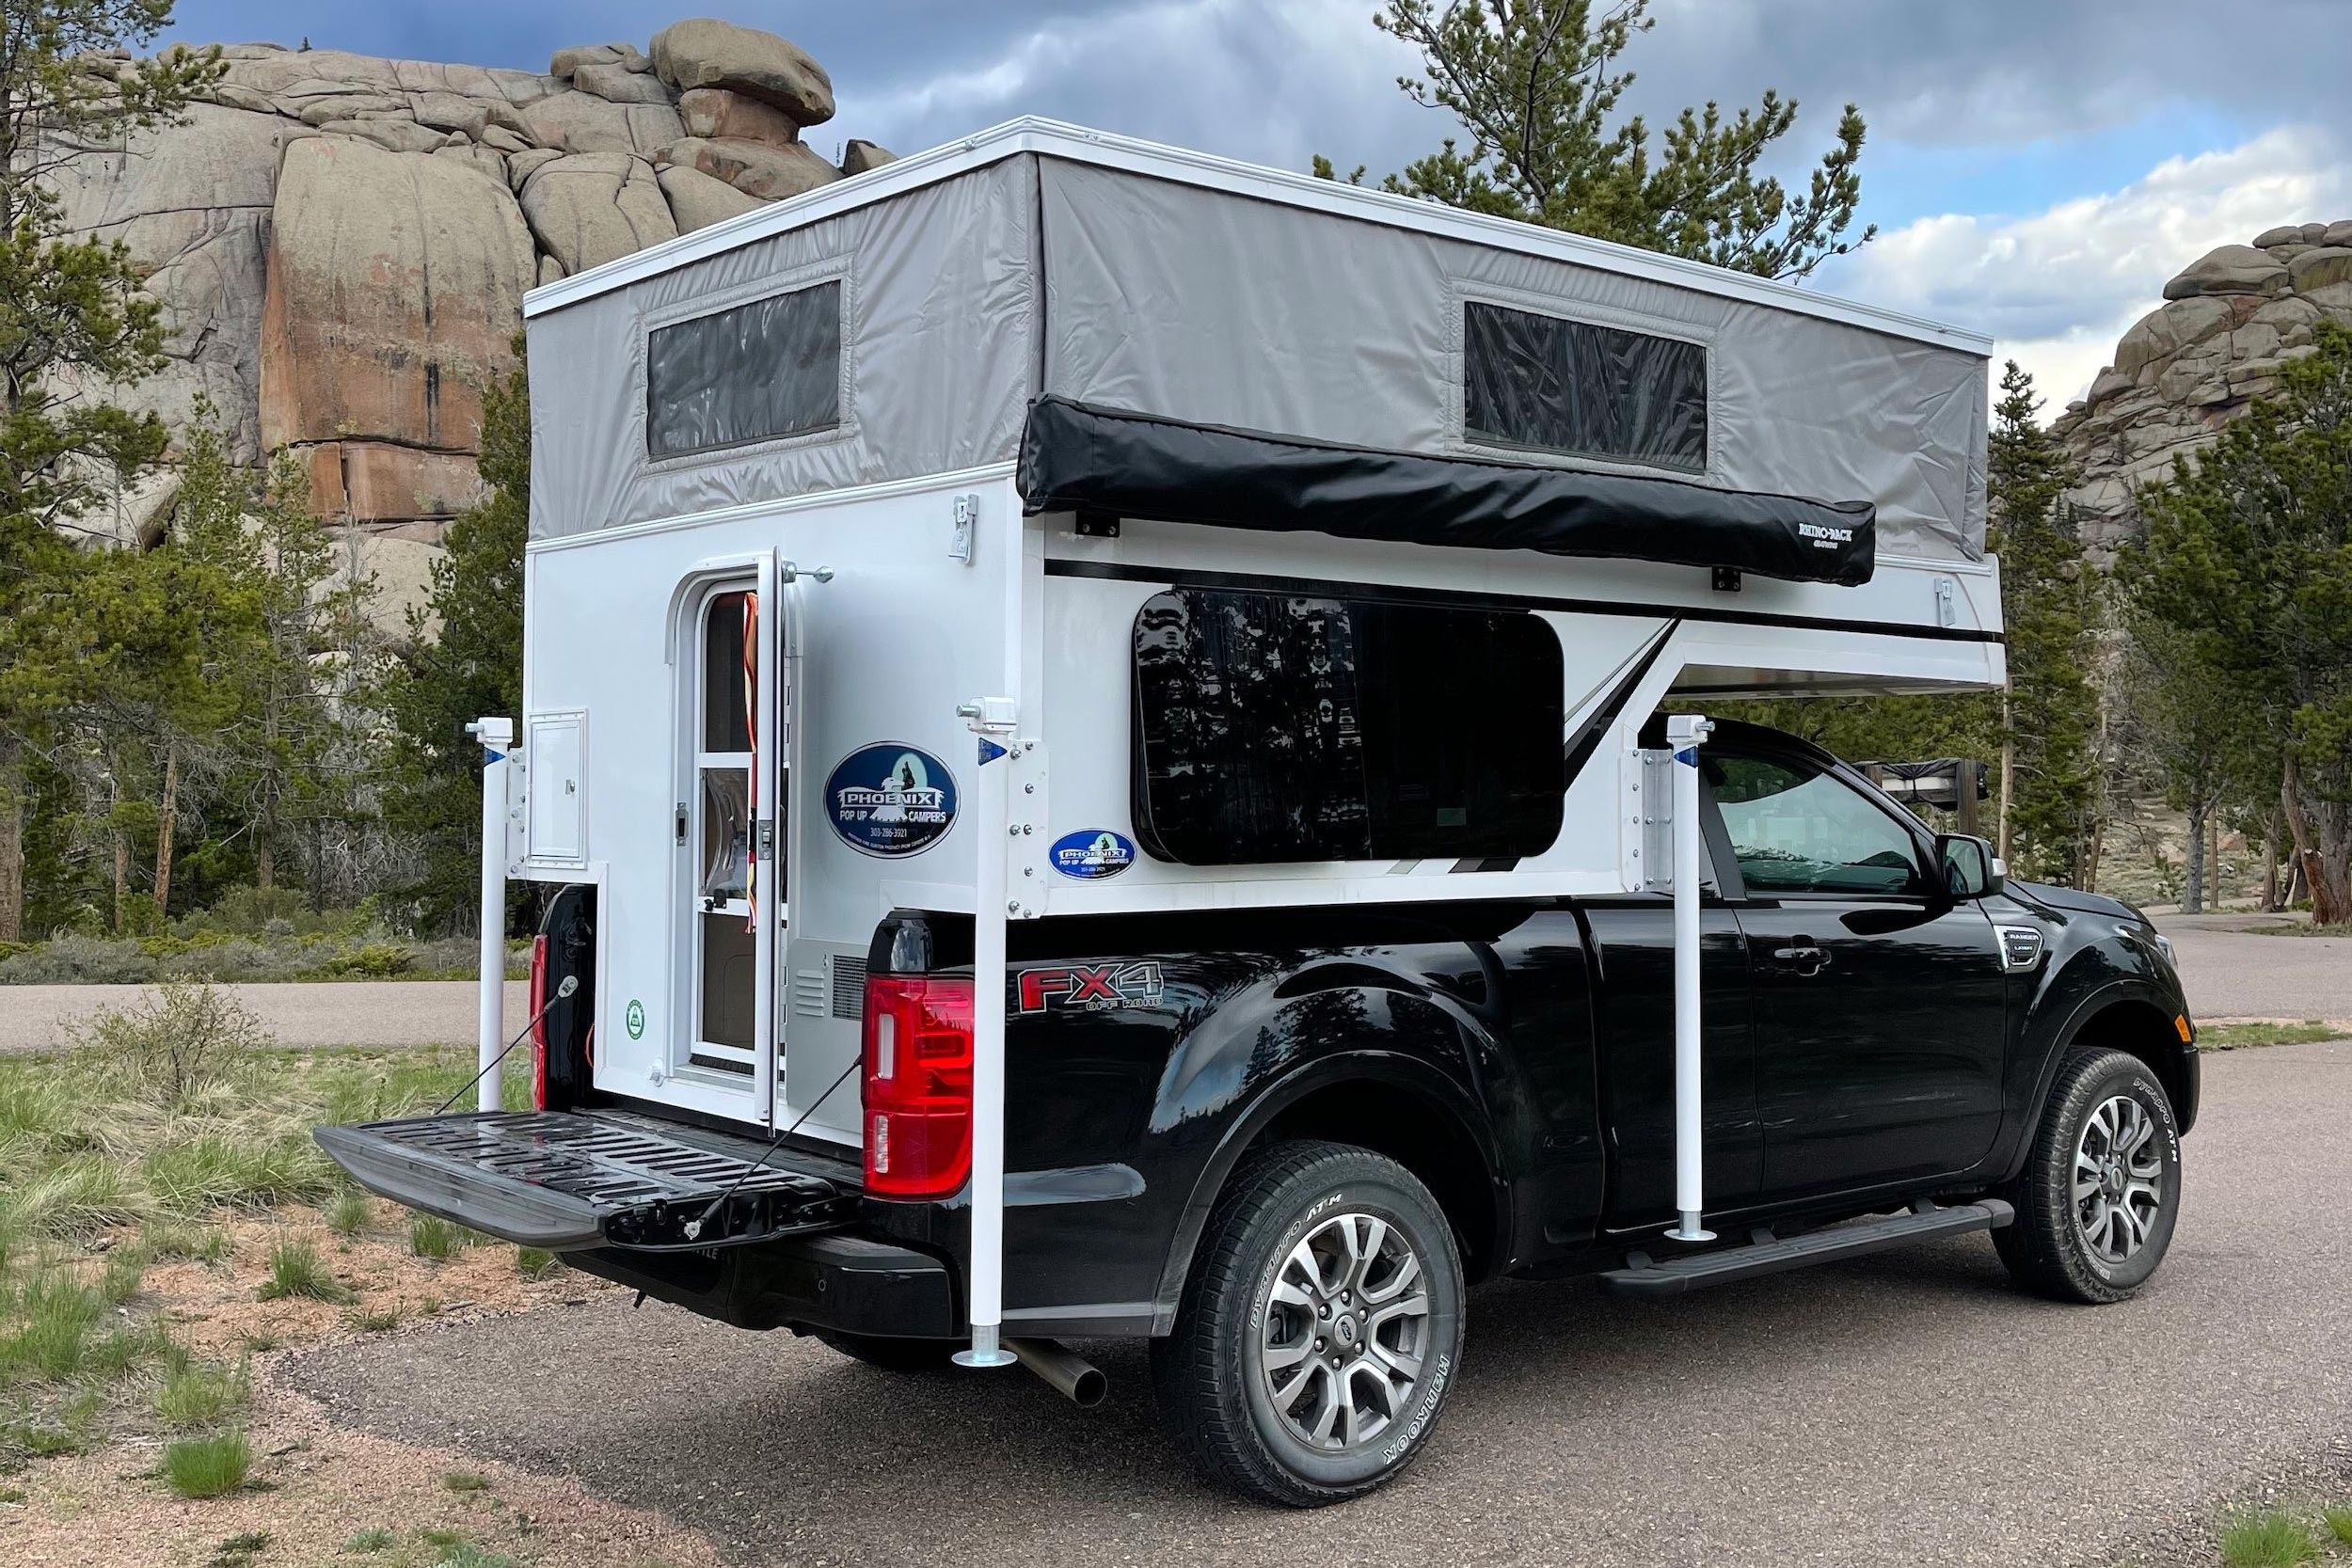
Luckily, my Ram 1500 is a beast. It can tow over 10,000 pounds, so it’s got the muscle for most travel trailers and definitely enough for a pop-up camper. I started sketching out some ideas, thinking about how to build a frame, what materials to use, and how to make it pop up and down without breaking my back.
My DIY Camper Journey
- Step 1: The Frame. I used some lightweight but sturdy metal for the frame. Welded the pieces together, making sure it fit snugly in my truck bed. Lots of measuring, cutting, and a few sparks flying.
- Step 2: The Walls. Now, this was tricky. I needed something light but durable, and also kinda waterproof. Ended up going with a combination of canvas and some treated plywood. Sewed the canvas, nailed the plywood, and prayed it wouldn’t leak.
- Step 3: The Pop-Up Mechanism. This was the real brain-buster. I messed around with hinges, springs, and even some gas struts I salvaged from an old car. Finally got a system that worked, though it took some elbow grease to raise and lower.
- Step 4: The Interior. I kept it simple. A mattress, some storage boxes, and a little camping stove. Nothing fancy, but it did the job.
It wasn’t pretty, folks. There were some crooked lines, a few patches here and there, and a whole lot of sweat. But you know what? It worked. I took that baby out on a few test runs, and it held up like a champ. Slept under the stars, cooked my meals on the tailgate, and felt like the king of the road.
It’s not for everyone, this DIY camper life. But if you’re like me, a bit handy, a bit adventurous, and a whole lot of stubborn, it’s a heck of a ride. I’m already planning my next trip, with a few upgrades in mind. Maybe a solar panel, a better mattress, who knows? The open road is calling, and my homemade camper is ready to answer.


