Okay, so I had this idea to make a roll-out bed for my pickup truck. I do a lot of camping and hauling stuff, and I thought it would be super handy to have a bed that I could just slide out whenever I needed it. So, I decided to give it a shot.
Materials I Gathered
First, I gathered all the materials. I needed some strong wood for the frame, so I picked up some 2x4s from the hardware store. Then, I got some plywood for the bed platform. I also grabbed some heavy-duty drawer slides – the kind that can handle a lot of weight. Oh, and of course, I needed screws, bolts, and some tools like a saw, drill, and screwdriver.
Building the Frame
I started by building the frame. I measured my truck bed and cut the 2x4s to the right lengths. I wanted the frame to fit snugly inside the bed, so I made sure to double-check all the measurements. Then, I screwed the 2x4s together to form a rectangular frame. It was a bit of a workout, but I managed to get it done. I added some cross pieces in the middle of the frame for extra support. I didn’t want the bed to sag when I put heavy stuff on it.
Attaching the Drawer Slides
Next, I attached the drawer slides to the frame. This was a bit tricky because I had to make sure they were perfectly aligned. I used some clamps to hold the slides in place while I screwed them onto the frame. Then, I built a smaller frame that would fit inside the main frame and attached the other ends of the drawer slides to it. This smaller frame would be the part that actually slides out.
Putting on the Platform
After that, I cut the plywood to fit on top of the smaller, sliding frame. I made sure it was the right size so it would cover the whole frame when extended. I screwed the plywood onto the frame, making sure it was secure. Now I had a platform that could slide in and out of the truck bed. I wanted to be able to use the bed without having to slide it out every time, so I made the platform big enough to still be useful when it’s pushed in.
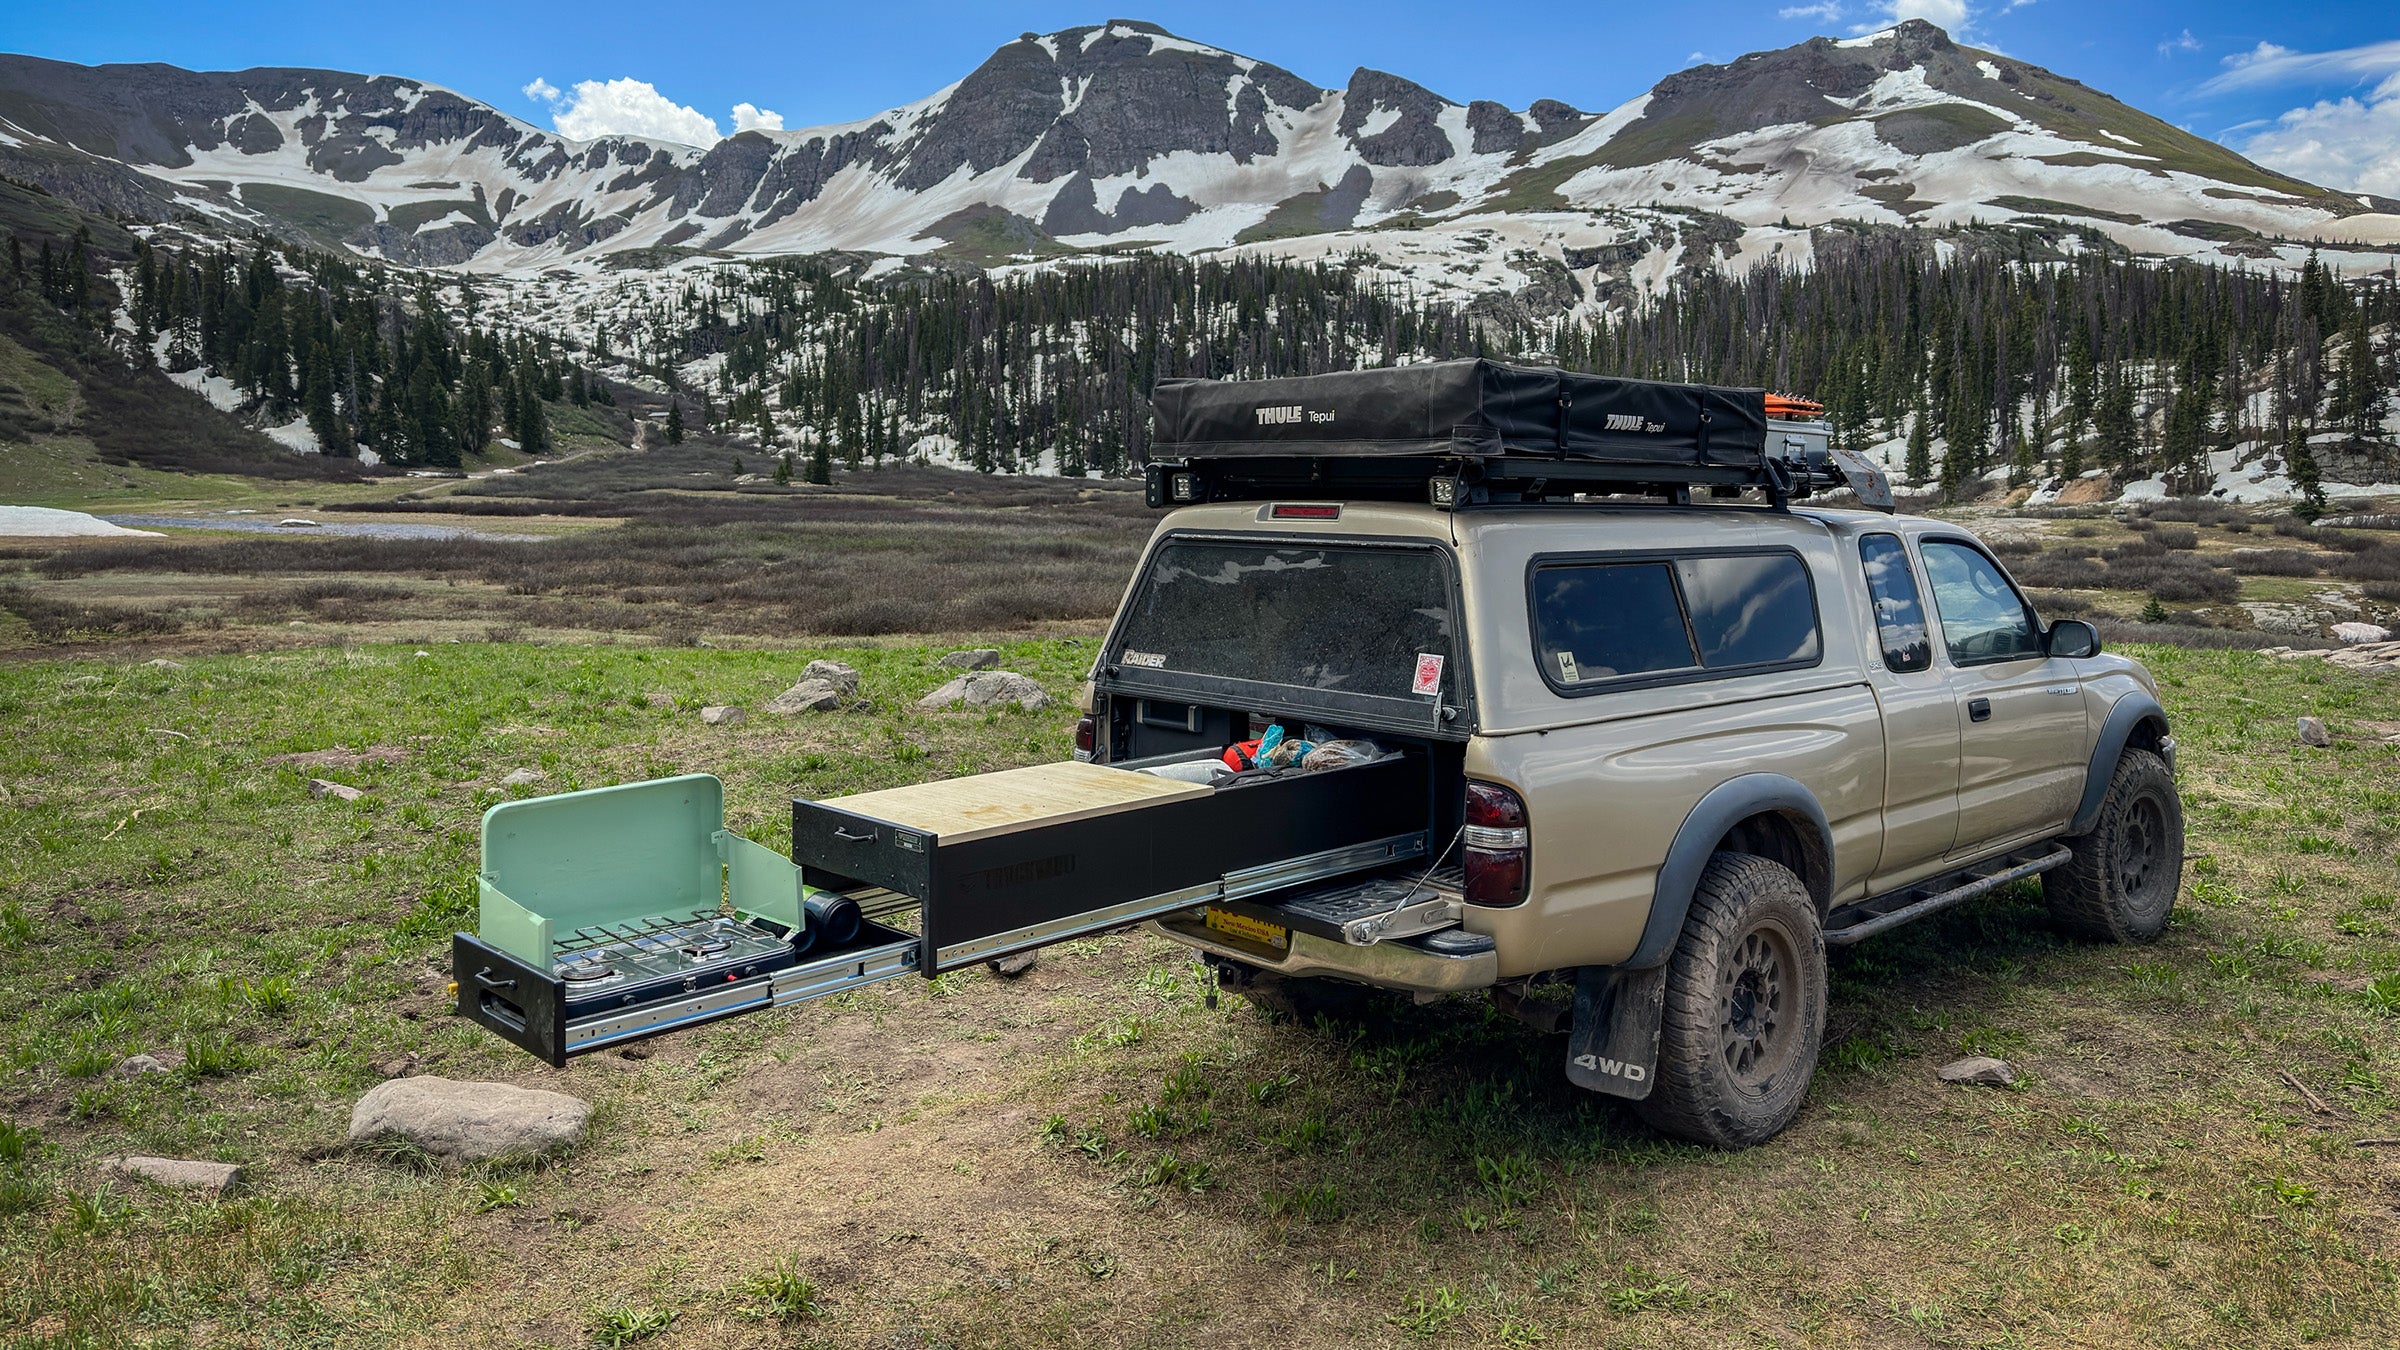
Testing It Out
Once everything was assembled, I tested it out. I pushed the bed in and out a few times to make sure it slid smoothly. It worked like a charm! I could easily pull the bed out when I needed to load or unload something, and push it back in when I was done. I even jumped on it a few times to make sure it was sturdy. It held up really well.
Adding Some Finishing Touches
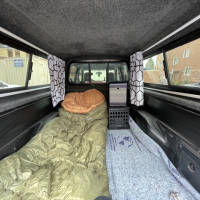
To make it even better, I decided to add some finishing touches. I added some handles to the front of the sliding frame to make it easier to pull out. I also put some D-rings on the sides so I could tie down cargo. I thought about painting it, but I kind of liked the raw wood look, so I left it as is. And since I’m planning to use it for camping, I made sure I could fit a comfy mattress on top.
Final Thoughts
Overall, I’m pretty stoked about how it turned out. It’s going to make camping and hauling stuff so much easier. I can just slide the bed out, grab what I need, and slide it back in. No more crawling around in the truck bed. Plus, it’s a great way to organize my gear and keep everything in its place.
This project took me about a weekend to complete, and it cost me around $200 for all the materials. Not too bad for a custom roll-out bed. If you’re thinking about doing something similar, I’d say go for it. It’s a fun project, and it’s totally worth it in the end.


