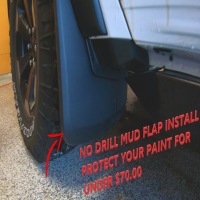
Alright, so I finally got around to putting some mud guards on my pickup truck. It’s something I’ve been meaning to do for a while now, ’cause let’s be honest, nobody likes those annoying little rocks and road gunk flying up and messing up your paint job. Plus, my truck is a bit of a beast, and it tends to kick up a lot of dirt, especially when I go off-roading.
First things first, I did a little digging around online to see what kind of mud guards were out there. There are tons of options, from the cheap, flimsy ones to the heavy-duty, off-road types. I went with something in the middle – tough enough to handle some abuse, but not so crazy expensive that I’d cry if one got ripped off.
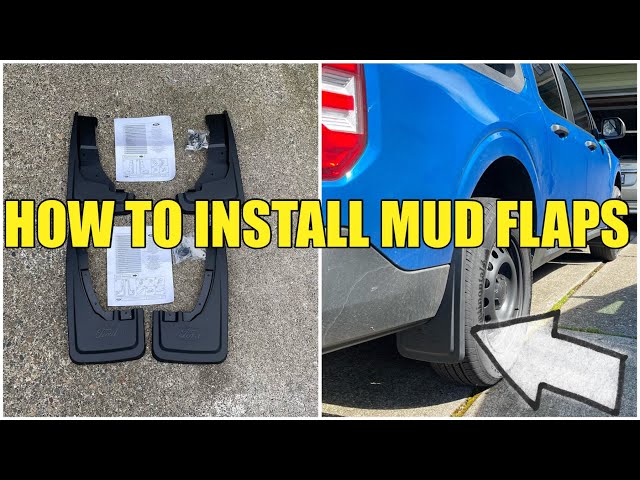
Once the mud guards arrived, I was eager to get them on. The installation seemed pretty straightforward, even for a non-mechanic like me. I grabbed my trusty screwdriver – the 90-degree one is super handy for this, by the way – and headed out to the garage. I started with the front tires since those seemed the easiest. Turns out I was right. I located the factory-drilled holes in the wheel well, unscrewed the existing screws, and held onto them real tight.
- Step 1: Locate the factory-drilled holes.
- Step 2: Unscrew the existing screws, and save those bad boys!
Then I lined up the mud guard with the holes, making sure it was sitting flush against the truck’s body. This was pretty simple, no rocket science here. With the mud guard in place, I screwed those factory screws back in, securing the mud guard. I made sure they were good and snug, but not so tight that I stripped the threads.
The back tires were a tiny bit trickier, mainly because of the angle. But that’s where the 90-degree screwdriver came in clutch. I followed the same process: remove screws, line up the mud guard, put the screws back in. A little wiggling here and there, and boom, the back ones were on too.
After I got all four mud guards installed, I took a step back to admire my work. Not bad, if I do say so myself! The truck looked a little more rugged, and I felt a lot better knowing my paint was a bit more protected. I even took it for a little spin on some gravel roads, just to test them out. They held up great, no issues whatsoever. The mud flaps stay on my truck!
Final Thoughts
All in all, installing mud guards on my pickup truck was a pretty easy and satisfying little project. It didn’t take long, didn’t require any fancy tools, and it definitely gives me some peace of mind. If you’re thinking about doing it yourself, I say go for it! It’s one of those little upgrades that can make a big difference.


