Okay, here’s my personal take on installing a pickup truck lift kit, written from my own experience, keeping it casual and straightforward:
Alright, so I finally decided to jack up my old pickup. I’d been thinking about it for ages, and finally pulled the trigger. The goal? Make it look meaner and fit some bigger tires, obviously.
First things first, I did some digging around. Lots of looking at different kits online, reading reviews, and bugging guys on forums for advice. Eventually, I settled on a 3-inch suspension lift. Seemed like a good middle ground – not too crazy, but enough to make a difference.
The Prep Work:
- Gathered my tools. This included a good floor jack, jack stands (safety first, people!), a socket set, wrenches, a torque wrench (important!), and a breaker bar for those stubborn bolts. A spring compressor for strut.
- Cleared out the garage. Gave myself plenty of space to work.
- Sprayed all the bolts with penetrating oil. Did this the night before, hoping it would make things easier.
The Installation:
Day 1: The Front End
Started with the front. Chocked the rear wheels, jacked up the truck, and put it on jack stands. Took the wheels off. Then, it was time to disconnect the sway bar links, the brake lines (carefully!), and the upper control arms. Lots of grunting and pulling, some bolts were really rusted on.
Then came the struts. After compressing the spring, I unbolted the strut assembly and pulled it out. Then I use new longer struts to replace it.
Putting the new, taller strut assembly back in was a bit of a wrestling match, but I managed. Bolted everything back together, making sure to use the torque wrench to get the right tightness.
Day 2: The Rear End
The back was supposedly easier, and it kinda was. Jacked up the rear, supported the axle with jack stands, and removed the wheels. Then, I unbolted the U-bolts holding the axle to the leaf springs.
Next, I put in the new lift blocks between the axle and the leaf springs. This is what gives the lift in the back. Longer U-bolts went back in, and everything got tightened down.
The last step was changing shock absorber, I swapped out the old shocks for the new, longer ones that came with the kit.
Day 3: Finishing Touches
Double-checked all the bolts, made sure everything was tight. Lowered the truck back down, took it for a slow test drive around the block. Listened for any weird noises, felt for any vibrations. Everything seemed good!
Finally, I took it to a shop to get the alignment done. This is super important after a lift, otherwise your tires will wear out unevenly and your truck will handle like garbage.
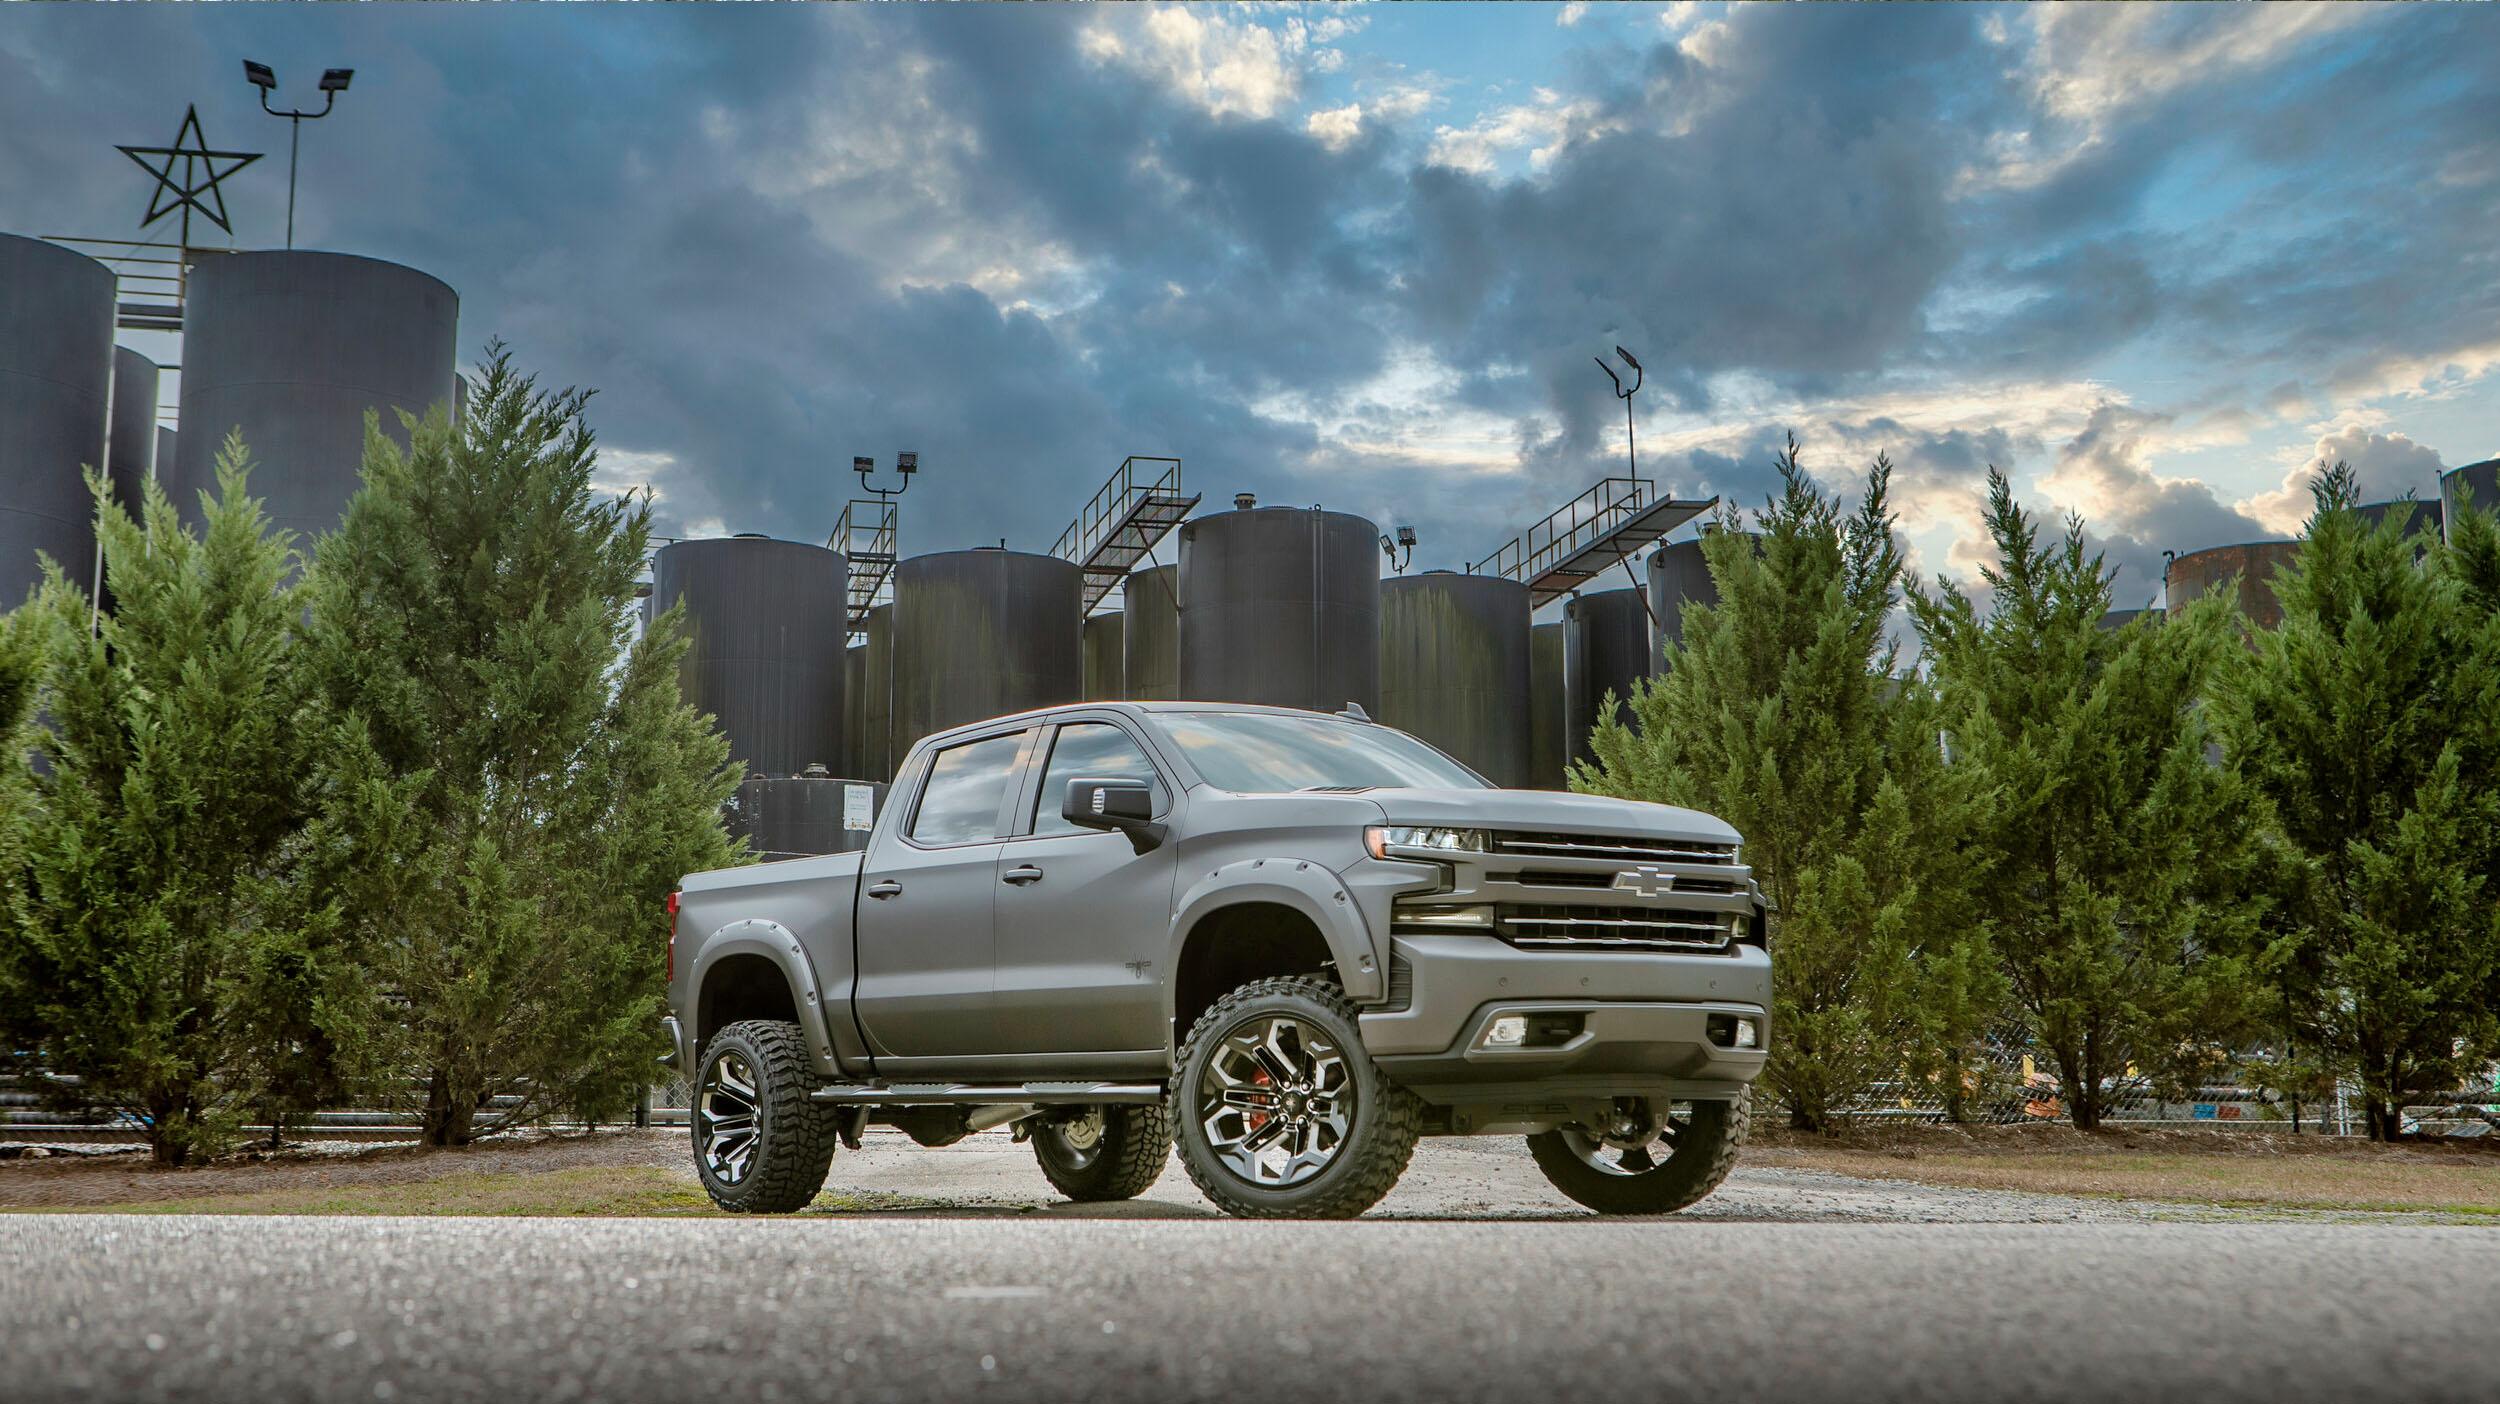
The Result:
My truck looks awesome! It’s got that aggressive stance I wanted, and it rides pretty good too. Definitely worth the effort, even though my back was killing me for a few days after. If you’re thinking about doing a lift, I say go for it – just be prepared for some hard work and a few scraped knuckles!


