Okay, here’s my attempt at a blog post, following your instructions and example:
So, I’ve been wanting to make my old pickup more useful. I haul a lot of stuff, from mulch in the spring to firewood in the fall. It’s always a pain in the butt to shovel everything out. I saw these dump bed inserts and thought, “That’s the ticket!”
Getting Started
First, I measured the truck bed. Gotta make sure the thing fits, right? I wrote down all the dimensions – length, width, height, even the distance between the wheel wells.
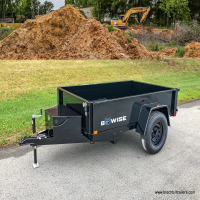
Then came the fun part: shopping! I looked at a bunch of different inserts. Some were steel, some were plastic. Some had fancy hydraulic lifts, others were manual. I went with a steel one with a manual crank – seemed like a good balance of price and durability. It was not a easy thing.
The Installation Process
Getting the insert home was the first challenge. Luckily, my buddy has a bigger truck, so we strapped that sucker down and hauled it back to my place.
- First thing: I cleaned out the truck bed. Gotta have a clean slate, you know?
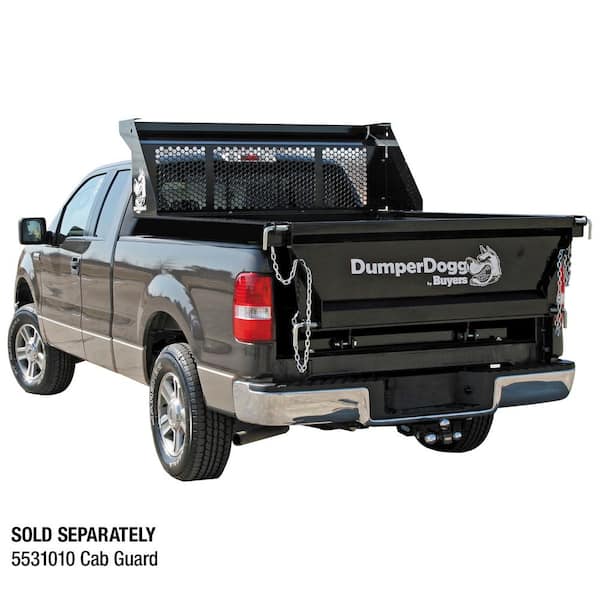
- Next, we carefully lifted the insert into the bed. It was heavy! Definitely a two-person job.
- Then, I followed the instructions (yeah, I actually read them!) and bolted the insert to the truck bed. There were these brackets that lined up with the existing tie-down points.
- Finally, I attached the crank handle and tested the dumping mechanism. It worked! A little stiff at first, but it lifted and dumped just fine.
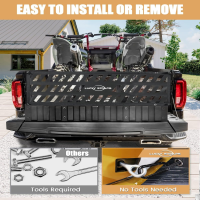
It’s so easy to use for a dump bed insert!
First Test Run
My first load was a bunch of brush I’d cleared from the backyard. I loaded it up, drove to my dump spot, and cranked that handle. Man, it was so much easier than shoveling! The whole load just slid right out. I was so happy with my choice!
It’s not the prettiest thing, but it’s super practical. And it saves my back! If you’re thinking about getting one, I’d say go for it. Just make sure you measure your truck bed and get a buddy to help with the lifting.


