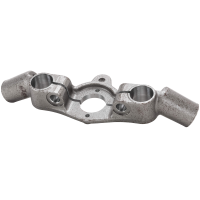
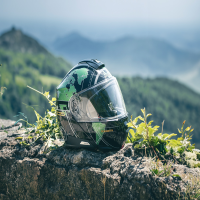
Okay, so I wanted to mess around with my motorcycle a bit, specifically the top fork clamp. I’ve been itching to customize my bike, and this seemed like a good starting point. I don’t know, it just looked kind of boring stock, you know?
First, I gathered all my tools. Nothing fancy, just the usual stuff – wrenches, sockets, a torque wrench, the basics. I also made sure I had the new top fork clamp ready. I ordered it online a few days ago. It’s this shiny aluminum one, looks way cooler than the stock one.
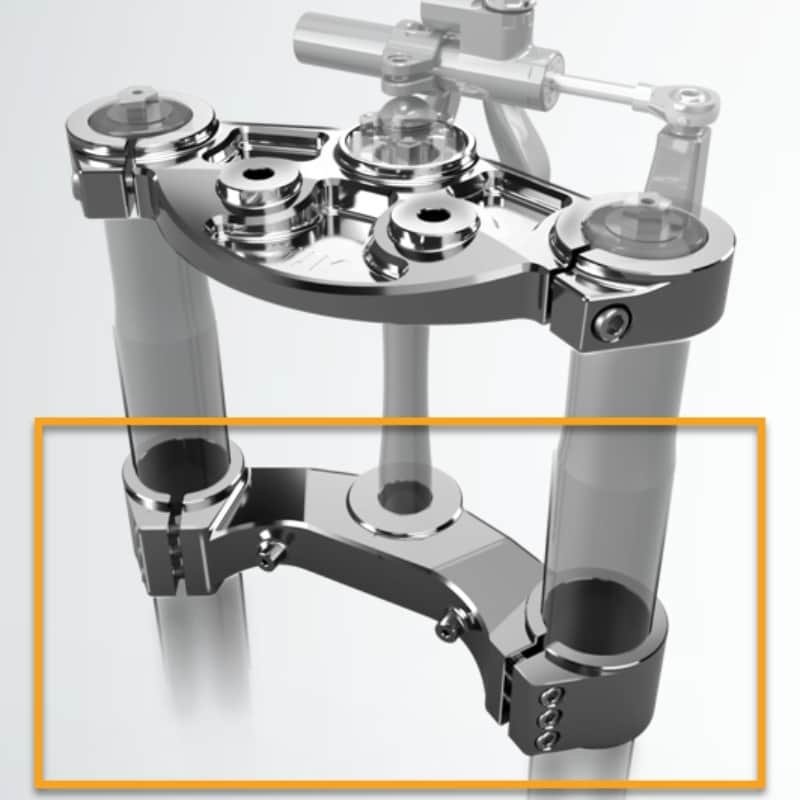
Then, I got to work. I started by loosening the bolts holding the original clamp in place. There were four of them, two on each side. They were kind of a pain to get to, had to wiggle my wrench around a bit. I made sure to be extra careful not to strip the bolts, I always hate that.
- Loosen the pinch bolts on the fork tubes first.
- Then remove the steering stem nut.
- Carefully slide off the old clamp.
Once I got those bolts off, the old clamp came off pretty easily. I just slid it right off the top of the fork tubes. I set it aside, probably won’t be needing that again. I was already feeling proud that I’m one step closer to customizing my bike.
Next, I grabbed the new clamp and slid it onto the fork tubes. It fit perfectly, which was a relief. Then I started tightening the bolts, following the same order I used to take the old one off. I tightened them a little at a time, going back and forth to make sure everything was even.
The last step was to use my torque wrench. I looked up the recommended torque specs for the bolts in my bike’s manual, wanted to make sure I didn’t over-tighten anything. It took a while to get them all torqued just right.
Final Touches
Finally, I stood back and admired my work. The new clamp looks awesome! It completely changed the look of the front end. It took me maybe an hour or two to get it all done, but it was totally worth it. I’m really happy with how it turned out. Time to show it off on the road. I’m pretty sure my biker friends will be jealous of me!


