Okay, here is my sharing about how I installed a 3-bike rack on my SUV.
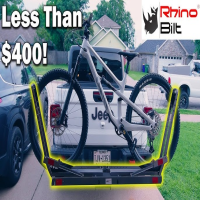
So, I got this 3-bike rack for my SUV ’cause the fam’s been getting into biking lately. Needed something sturdy to haul our bikes around, you know? First off, I unpacked the whole thing, laid out all the parts and pieces on the driveway. It was like a giant puzzle, kinda intimidating, not gonna lie.
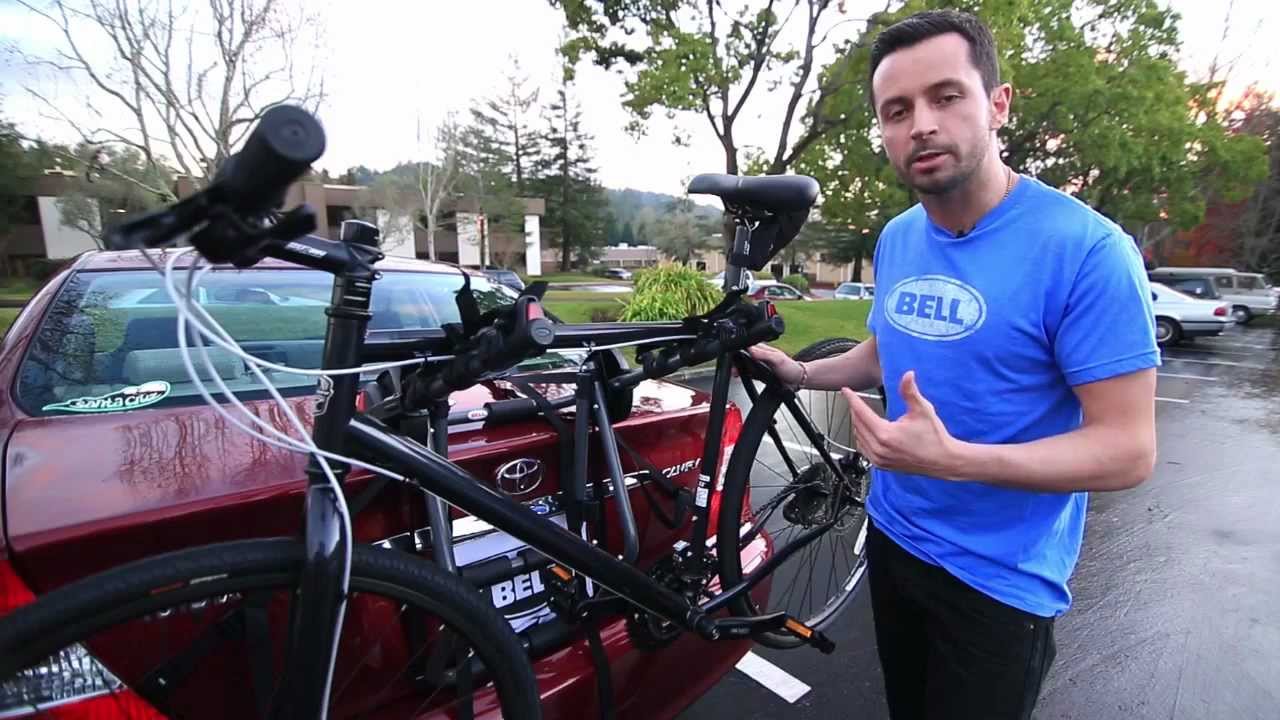
The instructions, well, they were okay. Pictures mostly, not a lot of words. I started by attaching the main support to the hitch receiver on my SUV. This was the trickiest part, I guess. Had to make sure it was super secure, so I tightened those bolts like there was no tomorrow. My arms got a bit of a workout, haha.
Next, I assembled the arms that hold the bikes. Those just slotted into the main support. Pretty straightforward. Then came the straps to secure the bikes to the arms. Seemed like a million of them, but I just followed the pictures and figured it out.
Once it was all together, I tested it out with one bike first. Lifted it onto the rack, strapped it in. Felt solid. Then I added the other two. It was a bit of a squeeze, but they all fit. I drove around the block a few times, slow at first, then a bit faster. Checked the straps again, made sure nothing was loose.
- Unpack everything and check all the parts
- Attach the main support to the hitch receiver
- Assemble the bike holder arms
- Strap in the bikes one by one
- Test drive and double-check tightness
Final Steps
It’s been a few weeks now, and the rack’s been great. We’ve taken a couple of trips, and the bikes have stayed put. No wobbling or anything. I feel pretty good about the whole installation, not bad for a regular guy, right? It wasn’t as hard as I thought it would be, just took some time and patience. And hey, now we can go on more bike adventures! Awesome!


