
Hey everyone, it’s your boy coming at you with another one of my little projects. Today, we’re diving into the world of motorcycle whips. Now, I’ve always been a bit of a tinkerer, and when I got my bike, I knew I wanted to add some personal touches. One of the things that caught my eye was the whip – not a real one, mind you, but those cool, braided things that hang off the handlebars. This is my story!
Getting Started
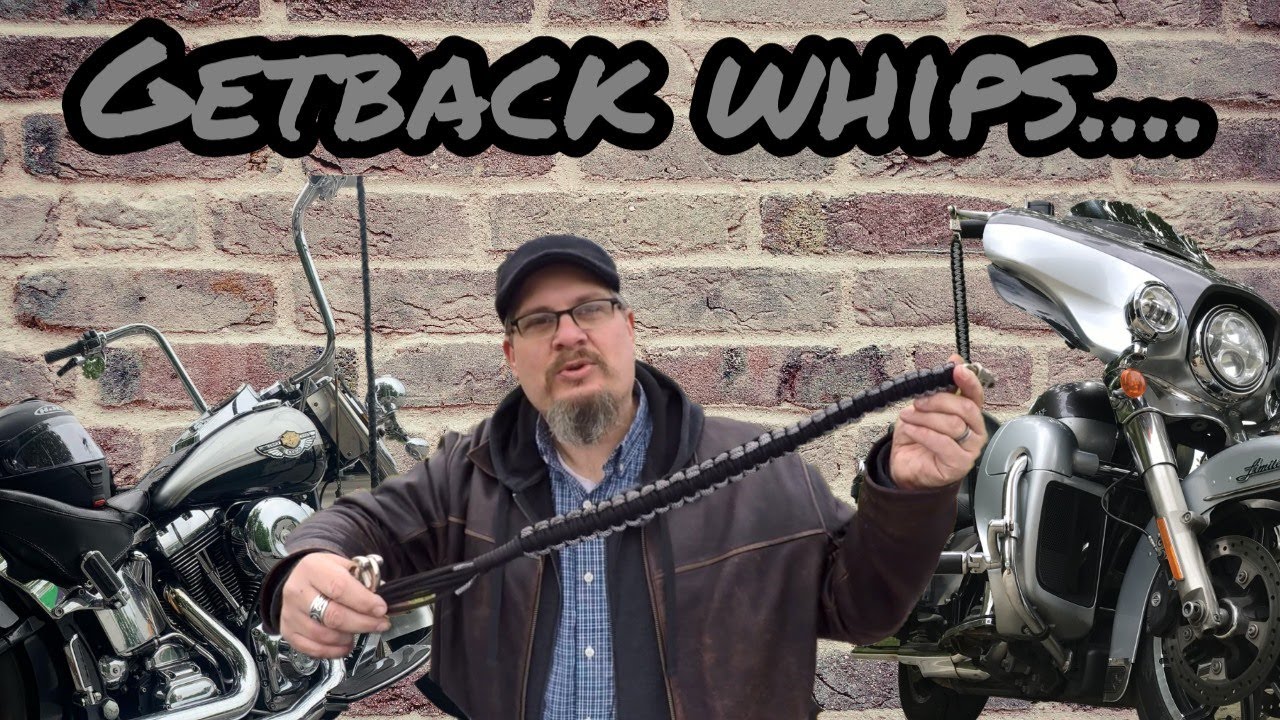
First things first, I needed to figure out what these things were all about. Turns out, they’re called “get back whips.” Back in the day, bikers used them to show off their club colors. Each whip was made to match the colors of their Motorcycle Club patch. I also found out that whips were used as a way to make bikes more noticeable on the road. And, in a pinch, they could be used as a weapon with a quick snap. Pretty wild, right?
Choosing the Materials
Now, I’m not part of any motorcycle club, so I didn’t need to worry about matching colors. But I did want something that looked cool and would last. I hopped on my computer and did a bit of digging. I decided to go with a sturdy, weather-resistant material, because let’s face it, I’m gonna be riding in all kinds of weather. And, of course, I picked out some colors that I thought would look sick on my bike.
The Making Process
Alright, this is where the fun really began. I cleared off my workbench, grabbed my tools, and got to work. I started by measuring out the lengths of material I needed. Then, I carefully braided the pieces together. It took some time and patience, but I wanted to make sure it was done right. I kept picturing how it would look on my bike, which helped me stay focused.
- Measure out the material.
- Start braiding.
- Take your time – don’t rush it!
Attaching the Whip
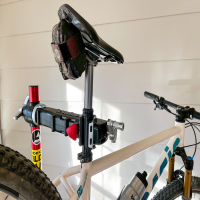
Once the whip was braided, I had to figure out how to attach it to my bike. After some trial and error, I found that the best way was to secure it to the handlebars. I did a bit of testing, and it seemed to hang just right – not too long, not too short. I wanted it to flow nicely when I’m cruising down the road.
Testing It Out
With the whip attached, it was time for the moment of truth. I hopped on my bike and took it for a spin. And let me tell you, it felt awesome! The whip moved just like I imagined, catching the wind and adding a whole new vibe to my ride. I could see how it would make my bike more visible to others, which is always a good thing.
Final Thoughts
So, there you have it – my little adventure in making and attaching a motorcycle whip. It was a fun project, and I’m really happy with how it turned out. Plus, it’s a cool way to remember a lost friend or riding buddy, which I think is pretty special. If you’re thinking about adding one to your bike, I say go for it! Just remember to take your time, choose the right materials, and make it your own.
I also found the best way to control a whip and make it swing out backwards came from simultaneously turning the handlebars on full lock. Hope this helps someone out there!
Ride safe, everyone!


