
Okay, so my motorcycle’s battery died on me a couple weeks ago. It was totally my fault – I left the lights on overnight. Jumpstarting it worked, but I knew the battery was probably on its last legs. So, I figured it was time to get a dedicated charger instead of relying on jumpstarts or hoping the alternator would do the trick.
Figuring Out What I Needed
First, I needed to know what kind of battery my bike has. I’m not a mechanic, so I just checked the battery itself. Turned out it’s a standard 12-volt lead-acid battery. That was easy. I double-checked the owner’s manual just to be sure.
Choosing a Charger
Then came the fun part – shopping! I looked at a bunch of different chargers. I wanted something simple and reliable, nothing too fancy. Some of them had all these crazy features I’d probably never use. I just wanted to charge the darn battery.
- I made sure it was a “smart” charger. Basicly, the charger will stop charging when the battary is full.
- I checked the amperage. Too low, and it’d take forever to charge. Too high, and I might risk damaging the battery. The sweet spot for my bike seemed to be around 1-2 amps.
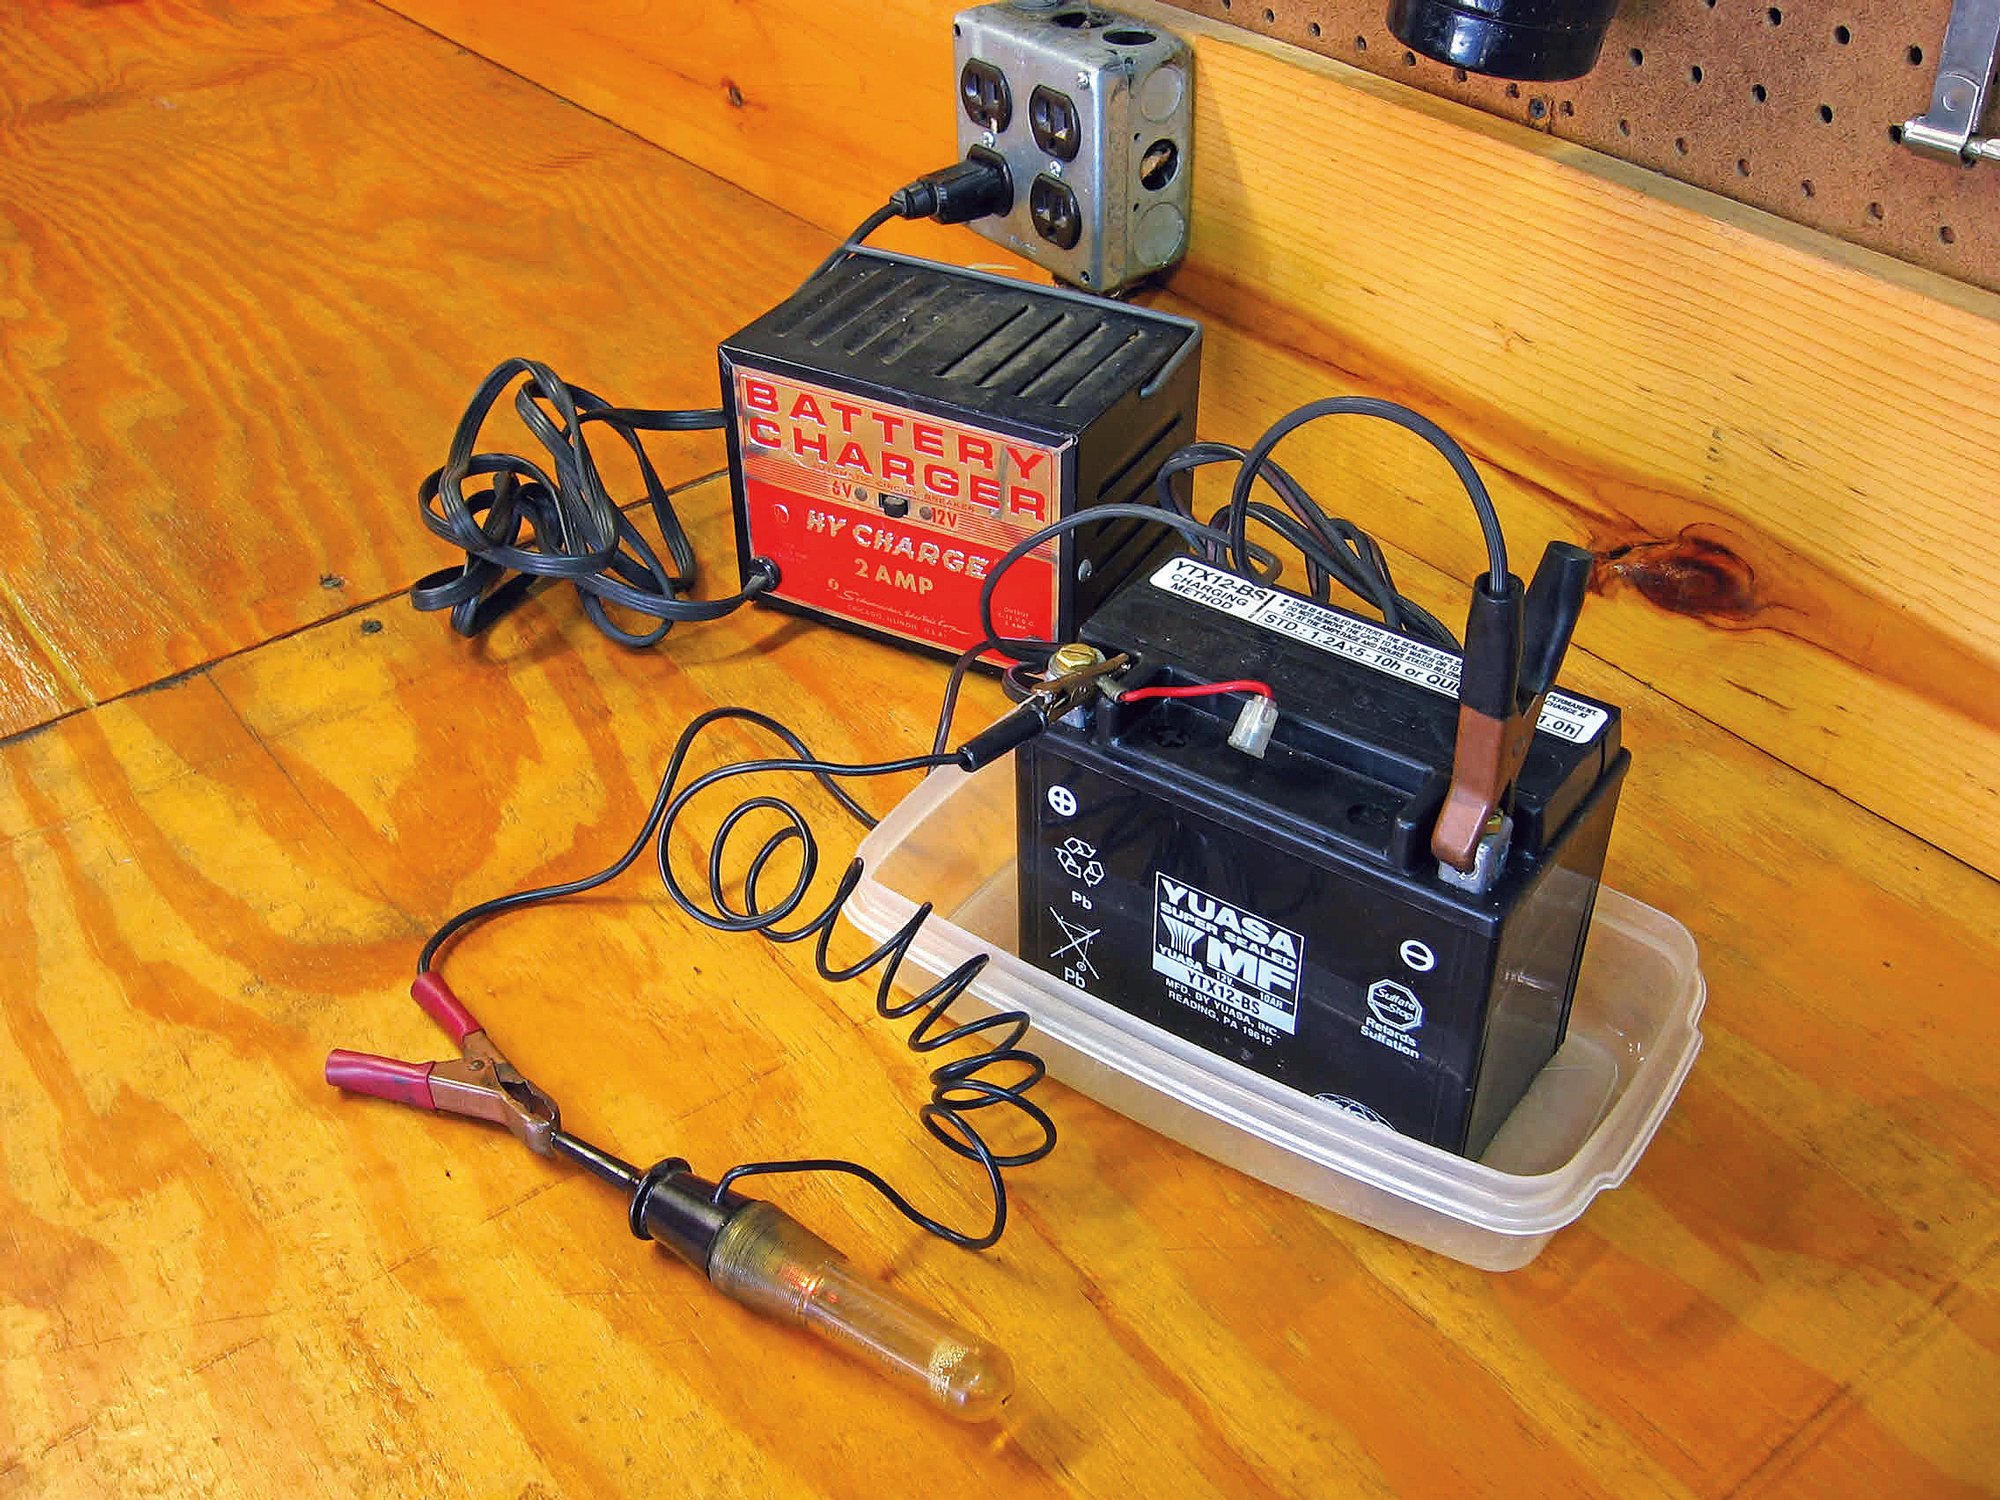
- I saw some with different connection options. The most common were the clamps, like tiny jumper cables, and the ring terminals that you can permanently attach to the battery posts.
The Charging Process
I ended up getting a charger with both clamp and ring terminal. I decided to use the ring terminals for convenience. First thing, safety first! I made sure the motorcycle was turned off, and the charger wasn’t plugged into the wall yet.
I connected the red ring terminal to the positive (+) post on the battery and the black ring terminal to the negative (-) post. Then I connected to the charger to the ring terminal cable I installed just now. Finally, I plugged the charger into the wall outlet.
The charger had a little indicator light that showed it was working. I just left it alone to do its thing. It took a few hours, and the light changed color to show it was fully charged. And that is it.
Wrapping Up
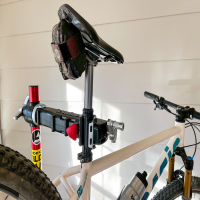
Once it was done, I unplugged the charger from the wall first, then disconnected the cable from the charger. It was super easy, and now I have peace of mind knowing my bike’s battery is topped up and ready to go. I mounted the charger to the garage’s wall for the next time.


