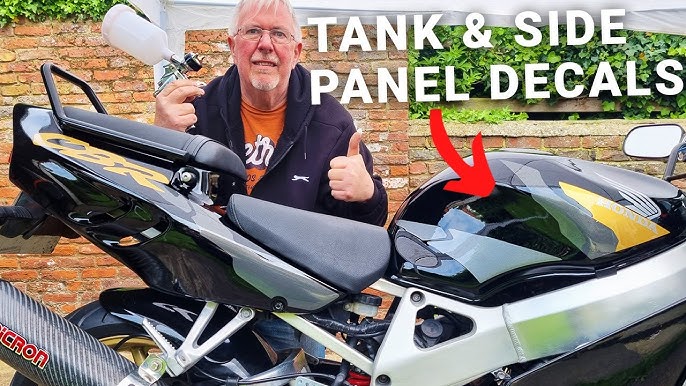
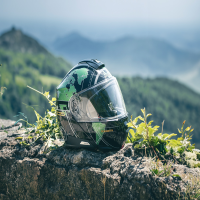
Okay, so I’ve been wanting to give my bike a new look, and I finally decided to go for it. I’m talking about adding some cool stickers to my motorcycle. I’m no expert, but I figured, how hard could it be, right? So, here’s how my little DIY project went.
First off, I spent hours online looking for the perfect stickers. I wanted something that really reflected my style, you know? I ended up ordering a bunch of different designs, just to have options.
Getting Started
When the stickers finally arrived, I was pretty pumped. I cleared out a space in my garage, blasted some music, and got to work. I laid out all the stickers and tried to visualize where they would look best on my bike. It was like putting together a puzzle, but way cooler.
Prepping the Bike
Before sticking anything, I knew I had to clean the bike’s surface. I grabbed a bucket of soapy water and a soft cloth and gave my bike a good scrub. I made sure to get rid of all the dirt and grime, especially in the spots where I planned to put the stickers. Then, I dried it off completely. You don’t want any water messing up the sticker’s adhesive.
Applying the Stickers
This was the fun part, but also a bit nerve-wracking. I started with a smaller sticker, just to get the hang of it. I carefully peeled off the backing paper, trying not to touch the sticky part too much.
- Positioning the sticker was the trickiest part. I wanted it to be perfectly aligned, so I took my time.
- Once I had it in the right spot, I slowly pressed it down, starting from the center and working my way out to the edges.
- I used a credit card to smooth out any bubbles. It worked like a charm!
I repeated this process with the other stickers, each time getting a little more confident. Some of the bigger stickers were a bit more challenging, especially on the curved parts of the bike. But I just took it slow, and if I messed up, I carefully peeled it off and tried again.
Finishing Touches
After all the stickers were on, I took a step back to admire my work. It looked awesome! But I noticed a few edges that weren’t sticking perfectly. So, I used a hairdryer on a low setting to warm up the edges and pressed them down again. This helped the adhesive stick better, especially on those tricky curved areas.
The Final Look
Man, the bike looks completely transformed! It’s got so much more personality now. It’s like a whole new ride. I’m really happy with how it turned out. It wasn’t as hard as I thought it would be, and it was actually pretty fun.
So, that’s my motorcycle sticker adventure. It was a simple project, but it made a big difference. If you’re thinking about doing something similar, I say go for it! Just take your time, be patient, and have fun with it. You might surprise yourself with what you can do.


