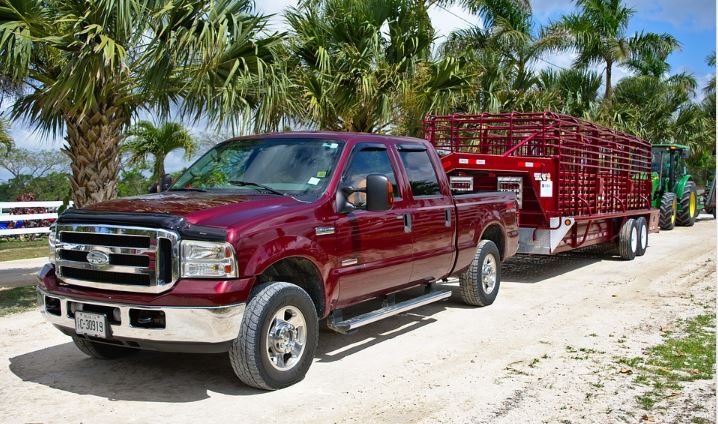
Okay, so I’ve been meaning to repaint my old pickup truck for a while now. It’s seen better days, and the paint job was starting to look really rough. I finally decided to tackle it myself, and let me tell you, it was quite the project!
First off, I gathered all my supplies. I’m talking sandpaper, and lots of it, in different grits. I got some primer, the actual paint (went with a classic dark blue), and a clear coat for that extra shine and protection. Oh, and don’t forget the masking tape and newspaper to cover up the areas you don’t want to paint, like the windows and tires.
The prep work was the most time-consuming part. I started by washing the truck thoroughly to get rid of any dirt and grime. Then came the sanding. I used coarser grit sandpaper to remove the old, chipped paint and smooth out any rough spots. After that, I switched to a finer grit to feather the edges and make sure everything was nice and even. This took forever, and my arms were definitely feeling it!
Once the sanding was done, I wiped down the entire truck with a tack cloth to remove any dust. Then, I masked off the windows, trim, and anything else I didn’t want to get paint on. This was a tedious process, but super important to get clean lines.
- Sanding took forever, and my arms were definitely feeling it!
- Once the sanding was done, I wiped down the entire truck to remove any dust.
- Masking off the windows, trim, and anything else I didn’t want to get paint on.
- Super important to get clean lines.
Priming
Next up was priming. I applied a thin, even coat of primer over the entire truck. This helped the paint adhere better and gave it a nice, uniform base to stick to. I let the primer dry completely, which took a few hours.
Painting
Finally, it was time for the main event: painting! I loaded up my paint sprayer (borrowed it from a buddy – thanks, Mark!) and started spraying thin coats of the blue paint. I made sure to overlap each pass slightly to avoid any streaks. Between each coat, I let it dry for the recommended time. I ended up doing three coats to get full, even coverage. I made sure to overlap each pass slightly to avoid any streaks. It is hard.
Clear Coat and Finishing Touches
After the paint was completely dry, I applied a few coats of clear coat. This added a glossy finish and protected the paint from the elements. Once the clear coat was dry, I carefully removed all the masking tape and newspaper.
I stood back and admired my handiwork. It wasn’t perfect, but I was pretty darn proud of myself. The truck looked a million times better, and I saved a ton of money by doing it myself. Plus, I learned a lot along the way. It was a lot of work, but totally worth it in the end!


