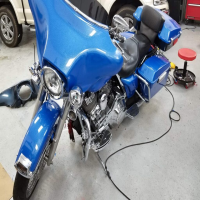
Okay, folks, let’s dive into my little weekend project: wrapping my motorcycle with vinyl. I’ve always loved tinkering with my bike, and I figured this would be a cool way to give it a fresh, custom look without breaking the bank on a paint job.
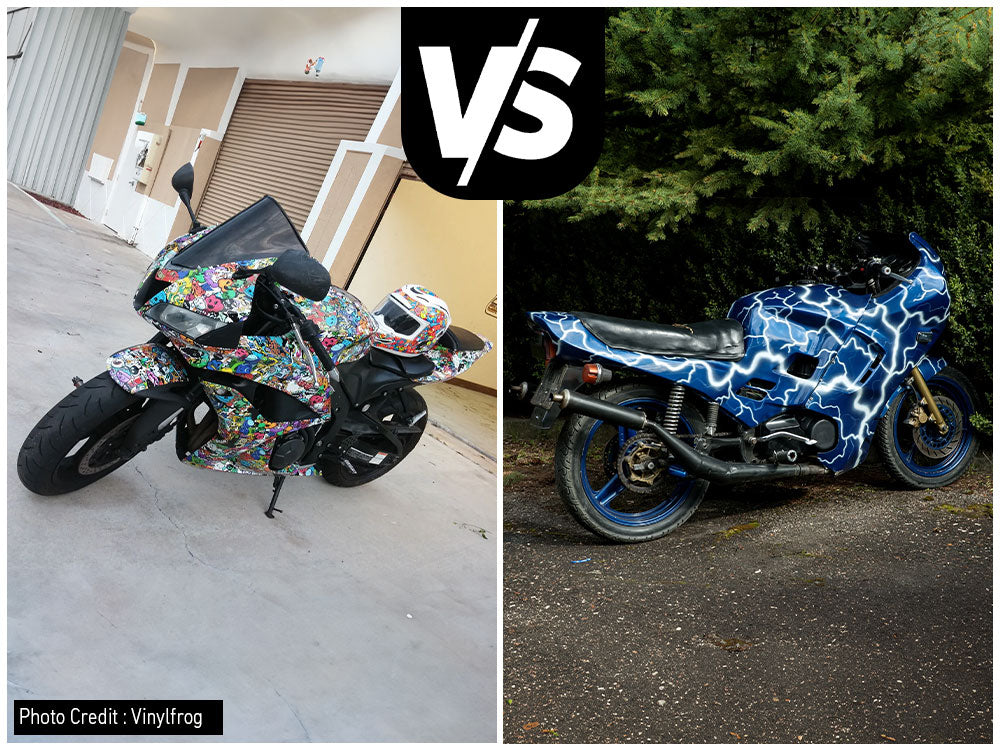
First things first, I gathered my materials. I ordered a roll of vinyl wrap online – went with a matte black because, well, it just looks badass. You’ll also need a few other things:
- A heat gun (a hairdryer might work, but a heat gun is way better)
- A squeegee – this is crucial for getting a smooth finish
- An X-Acto knife or a very sharp utility knife
- Rubbing alcohol and some clean cloths
- A friend (optional, but super helpful for the tricky bits)
- Patience! Seriously, this isn’t a race.
Prep Work is Key
Before I even touched the vinyl, I spent a good chunk of time prepping the bike. I removed the parts I wanted to wrap – the fairings, the tank, the fenders. This made the whole process much easier. I made sure everything was spotless. I washed everything down with soapy water, then wiped it all down with rubbing alcohol to get rid of any grease or residue. Any little speck of dirt will show up under the vinyl, so this step is really important.
Getting Down to Business
I started with the smaller, flatter pieces to get a feel for the material. I unrolled the vinyl, carefully peeled off the backing, and laid it over the part. The key here is to go slow and avoid trapping air bubbles. I used the squeegee to smooth out the vinyl, working from the center outwards. If I got a bubble, I peeled back that section, applied a little heat with the heat gun, and tried again. The heat makes the vinyl more pliable and easier to work with.
Once I had the vinyl smoothed down, I used the heat gun again to warm up the edges and curves. This helps the vinyl conform to the shape of the part. Then, I used the X-Acto knife to trim off the excess vinyl, being super careful not to scratch the plastic underneath. It’s like giving your bike a really precise haircut.
Tackling the Big Stuff
The tank was definitely the most challenging part. It’s got all sorts of curves and angles. My buddy came over to help with this one, and I’m glad he did. Having an extra set of hands to hold the vinyl and apply heat was a lifesaver. We took our time, stretched the vinyl carefully, and used plenty of heat to get it to conform to the shape. There were a few moments where I thought we were going to mess it up, but we persevered, and it actually turned out pretty good!
Putting It All Back Together
After wrapping all the individual pieces, it was time to re-assemble the bike. This was the fun part – seeing the transformation come together. I carefully bolted everything back on, double-checked all the connections, and stood back to admire my handiwork.
Overall, I’m really happy with how it turned out. It’s not perfect – there are a couple of tiny imperfections if you look really closely – but for a DIY job, I think it looks awesome. It definitely gave my bike a whole new personality. And the best part? If I get tired of the black, I can just peel it off and try something different! If you’re thinking about giving it a shot, I say go for it! Just remember to take your time, be patient, and don’t be afraid to ask for help.


