Okay, so today I decided to get my hands dirty and build some model sports cars. I’ve always loved the look of those sleek, miniature machines, and I figured, why not try making my own?
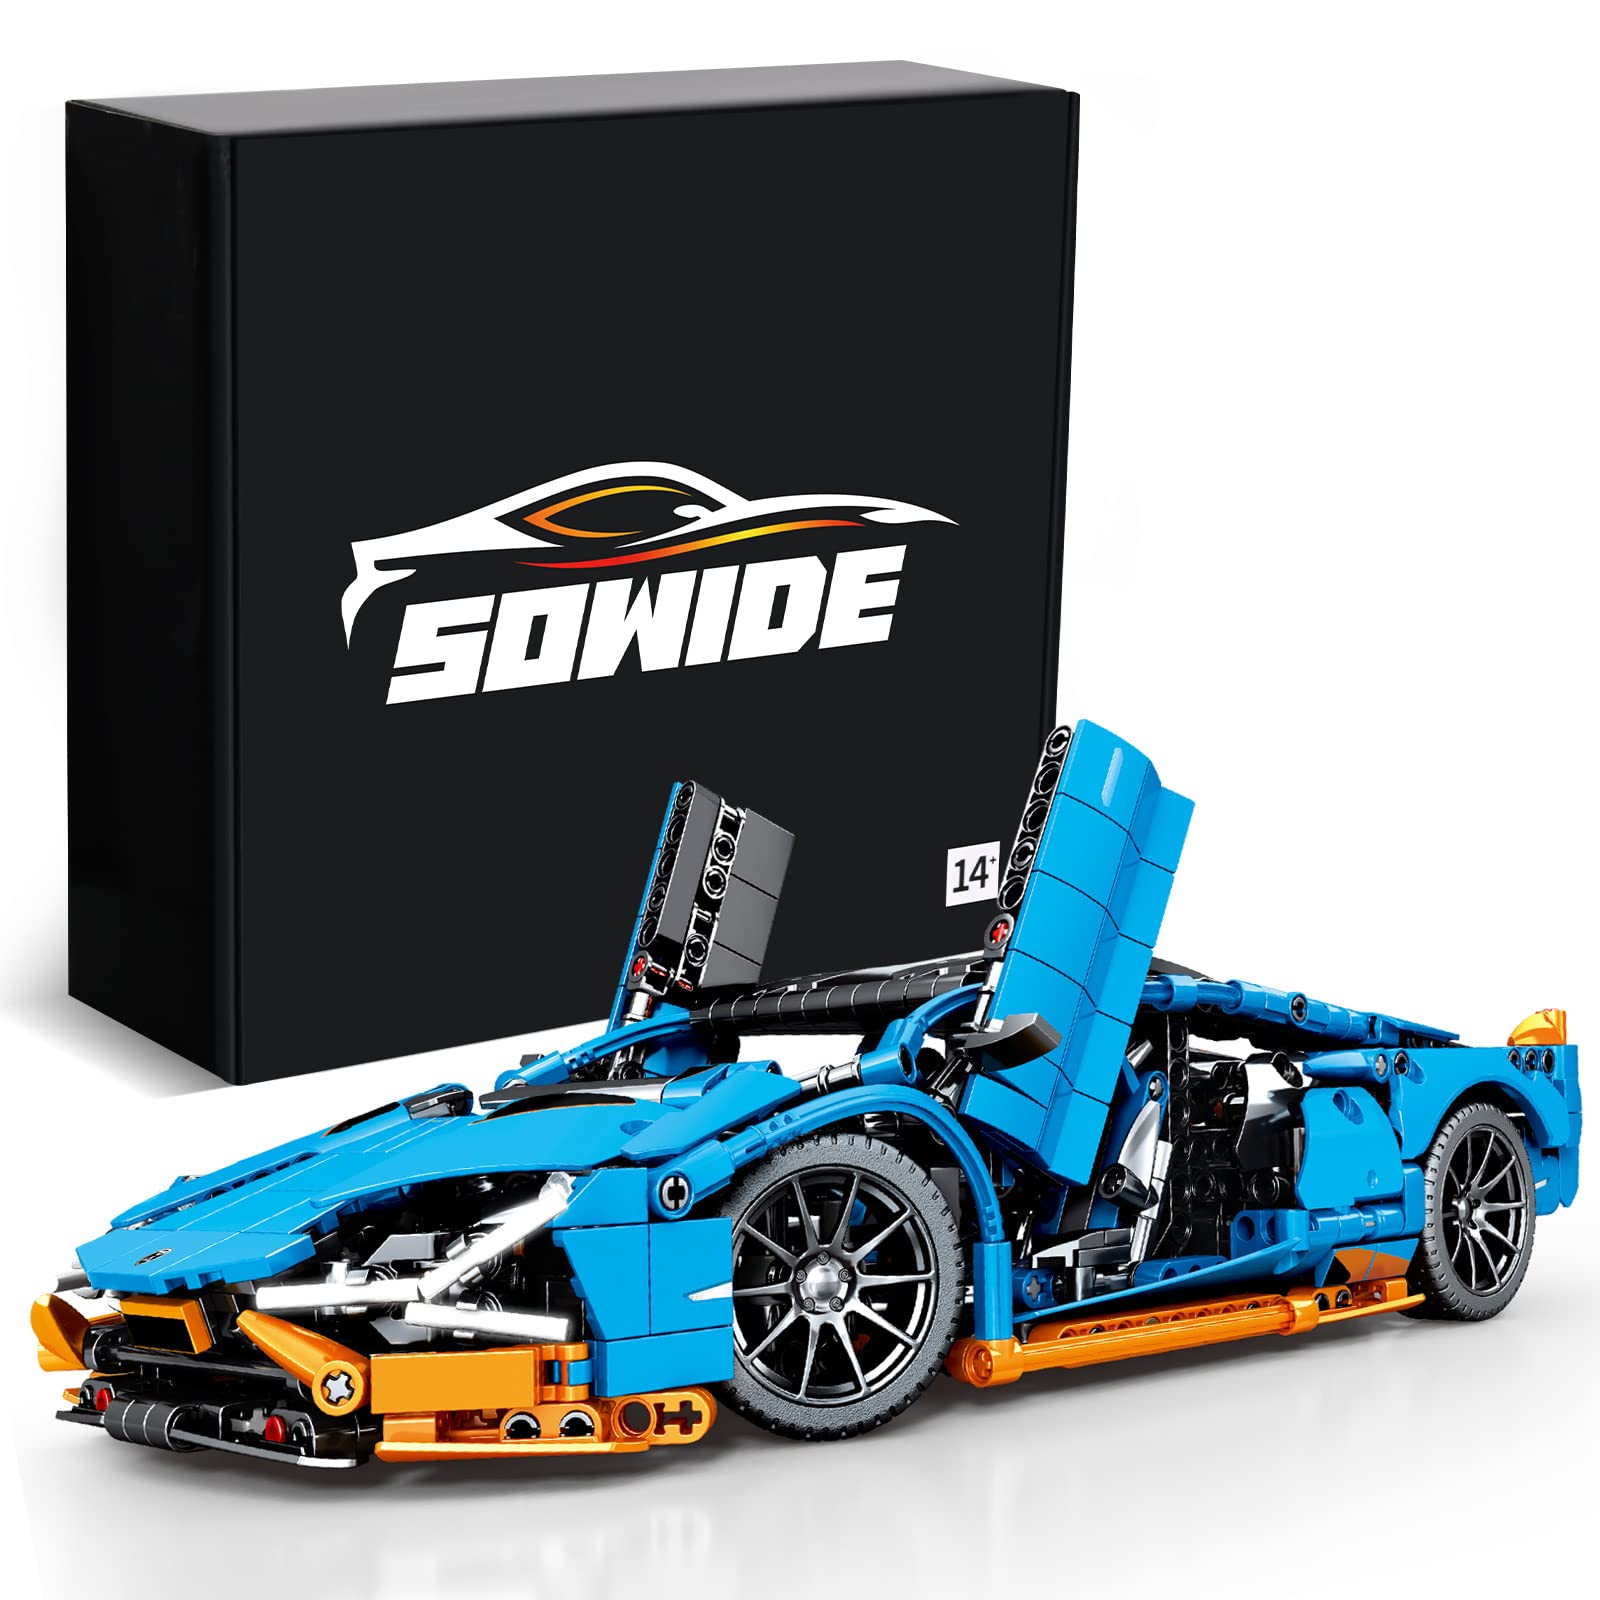
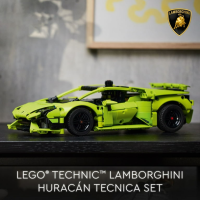
First, I gathered my materials. I’d picked up a few kits from the local hobby store – a classic Ferrari, a modern Lamborghini, and a Porsche 911 for good measure. Each kit came with a bunch of plastic pieces, decals, and a little tube of glue. I also grabbed some extra tools: an X-Acto knife for precise cutting, some fine-grit sandpaper for smoothing edges, and a few different paints and brushes for customization.
Getting Started
- Unboxing and Organizing: I started by carefully unboxing each kit and laying out all the parts. It’s like a plastic jigsaw puzzle! I used small containers to keep the tiny pieces from rolling away.
- Reading the Instructions (Sort Of): I glanced at the instructions, just to get a general idea. Let’s be honest, who actually follows those things step-by-step?
- Clipping and Cleaning: I used my clippers to remove the parts from the plastic sprues. Then, I used the X-Acto knife and sandpaper to trim off any excess plastic and smooth out the edges. This part took a while, but it’s important for a clean look.
The Build
The main part of the build was pretty straightforward. I followed the general order of the instructions, snapping pieces together where I could and using glue for the trickier bits. I found that holding parts together for a few seconds after gluing helped them bond better. There were a few moments where I messed up and had to carefully pry things apart, but thankfully nothing broke!
The engine was tiny and I had to glue a lot of tiny parts together. After that, I start to assemble the body of the car.
Painting and Details
Once the basic car was assembled, it was time for the fun part – painting! I decided to go with the classic colors for each car: red for the Ferrari, yellow for the Lamborghini, and silver for the Porsche. I applied a couple of thin coats of paint, letting each coat dry completely before adding the next. This helped avoid any drips or streaks.
After the paint dried, I added the decals. These are like little stickers that add details like racing stripes, logos, and numbers. They were a bit fiddly to apply, but I used a wet cotton swab to help position them correctly.
Finally, I assemble the wheels, stick the decals, I think I made a great one!
The Finished Product
After a few hours of work, I finally had three awesome-looking model sports cars! They weren’t perfect, of course – there were a few smudges of paint and some slightly crooked decals – but I was pretty proud of my handiwork. They look great on my shelf, and it’s satisfying to know that I built them myself. I might even try a more complicated model next time!


