Okay, here is my sharing about how I made a motorcycle seat cover:

So, I have this motorcycle, right? It’s not brand new, but it’s my baby. The seat, though, was starting to show its age. A little worn, a little faded, and honestly, not the most comfortable thing on longer rides. I needed a solution, and buying a whole new seat was way out of my budget. That’s when I decided to try and make my own motorcycle seat cover.
Preparation
First, I had to figure out what kind of material I wanted to use. I needed something tough, that could handle the wear and tear of the road, and also something waterproof, because, you know, rain happens. After looking around online and checking a local store, I found this Cordura fabric. It felt really durable, and the guy at the store said it was waterproof, so that was a good start. I picked up a few yards of it, along with some heavy-duty thread and some elastic.
Taking Measurements
Next, I had to figure out how much material I actually needed. I carefully measured my motorcycle seat, adding a few extra inches on each side for seam allowance and to make sure I had enough to work with. I sketched out a rough pattern on some old newspaper, just to get a general idea of the shape I needed. It looked kinda like a lopsided pizza, but it was a start!
Cutting and Sewing
Then came the fun part, cutting the Cordura. Let me tell you, this stuff is thick! My regular scissors weren’t going to cut it (pun intended). I ended up using a heavy-duty pair I had in the garage. With the pieces cut out, I started sewing. I used my old sewing machine, the one my grandma gave me. It took some time, and I had to go slow to make sure the stitches were strong, but I got it done. I double-stitched everything, just to be extra sure.
Fitting and Finishing
Once the main part of the cover was sewn together, I had to fit it to the seat. This involved a lot of pulling, stretching, and adjusting. I used the elastic to help keep the cover snug around the bottom of the seat. It wasn’t perfect, but it was starting to look like a real seat cover! I trimmed off any excess fabric and made sure everything was secure.
Final Results
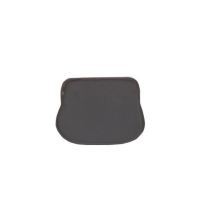
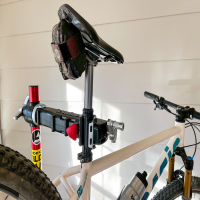
Finally, after a few hours of work, my new motorcycle seat cover was finished! It fit pretty well, and the Cordura felt really sturdy. I took it for a test ride, and it was definitely more comfortable than the old, worn-out seat. Plus, it looked pretty good, if I do say so myself. I was pretty proud of my DIY project. It wasn’t perfect, sure, a few wonky seams here and there, but it was mine, and it saved me a ton of money. I even found some Velcro at a local store and used it to make the cover even more secure. It wasn’t as bad as I thought it would be, and now my bike has a fresh new look, and my butt is a lot happier on those long rides!
- Tip 1: Double-stitch everything for extra durability.
- Tip 2: Take your time and measure carefully.
- Tip 3: Don’t be afraid to ask for help if you’re not sure about something.
- Tip 4: Enjoy the process, you can do it!
So there you have it! That’s how I made my own motorcycle seat cover. It was a fun little project, and I learned a lot along the way. If you’re thinking about doing something similar, go for it! It’s a great way to save some money and give your bike a little personal touch. I don’t know if it will protect the back of the front seats, load floor but it works for me!


