Okay, so I’ve been wanting to change up the look of my motorcycle for a while now. I was thinking about getting a new paint job, but honestly, that’s just too much of a commitment and way too expensive. Then I stumbled across this whole world of motorcycle wraps, and I thought, “This is it!”
First thing I did was dive into research. Lots and lots of research. I watched a ton of videos, read a bunch of forum posts, and just generally tried to soak up as much info as I could. I learned the differents material of the vinyl, I will be crazy if choosing the wrong one.
Getting Started
I ordered a wrap kit online. Make sure I measured my bike’s panels correctly. Got all the tools together: a heat gun, a squeegee, some micro-fiber cloths, an X-Acto knife, and some soapy water in a spray bottle. I think that is all of it, hopefully.
The Prep Work (The Most Important Part!)
-
Washed the bike like crazy. Seriously, I spent like two hours just getting every speck of dirt and grime off. Any little bit of anything left under the wrap will show up as a bump, and nobody wants that.
-
Removed any parts that were easy to take off, like the mirrors and some of the smaller trim pieces. Made it way easier to get the wrap around everything neatly.
-
Wiped everything down with isopropyl alcohol to make sure there was absolutely no residue left. This is crucial for the wrap to stick properly.
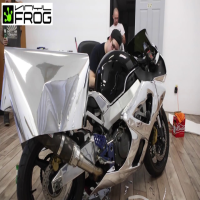
Applying the Wrap (The Fun/Terrifying Part)
I am so nervous! Started with one of the smaller, flatter panels to get a feel for it.
Sprayed the panel and the back of the wrap with the soapy water. This let me slide the wrap around and get it positioned just right.
Used the squeegee to push out the water and air bubbles, working from the center out to the edges. This part took some patience, gotta say.
Applied the heat gun, a little bit at a time, to help the wrap conform to the curves of the panel. Don’t overdo it with the heat, or you’ll melt the vinyl!
Trimmed the excess vinyl with the X-Acto knife, being super careful not to scratch the paint underneath.
I repeated these steps for each panel, slowly but surely. Some of the curved areas were a real pain, ngl, but the heat gun and a lot of stretching helped me get through it.
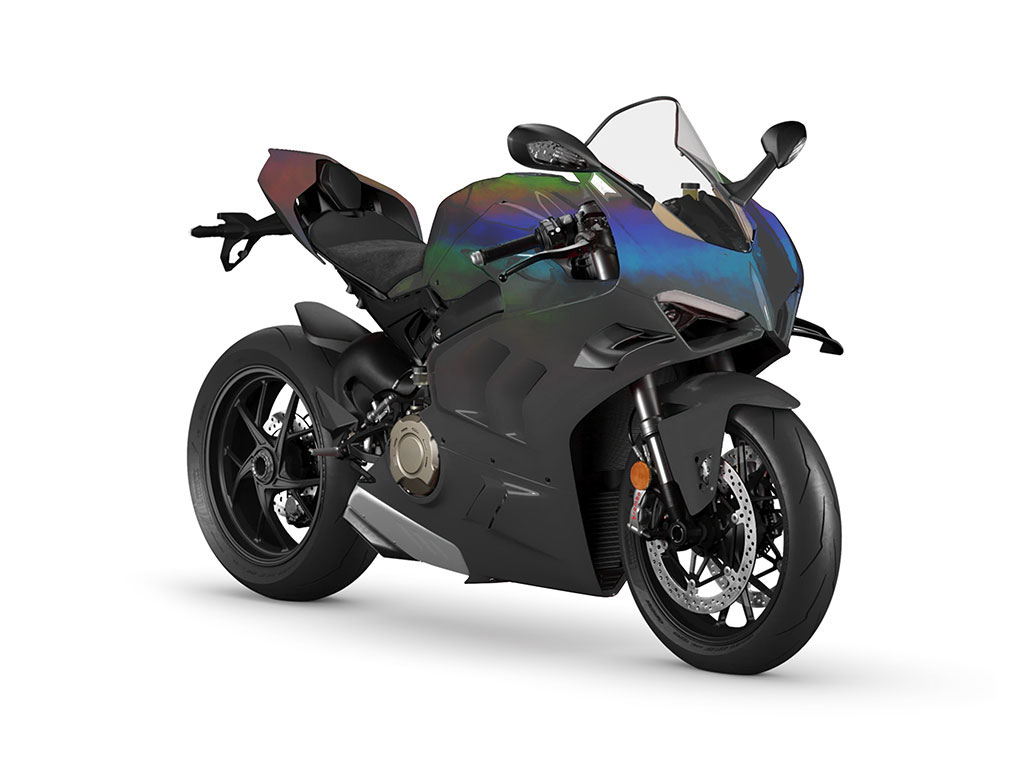
The Final Result
Honestly, it took me most of a weekend, but it was totally worth it. My bike looks completely different! It’s not perfect, there are a few tiny imperfections if you look super close, but overall I’m thrilled with how it turned out. And the best part is, if I get tired of it, I can just peel it off and try something new! I will do it again, maybe next year.


