Alright, let’s talk about how I got this kayak carrier situation sorted out for my SUV. It was a bit of a journey, but I figured it out, and I’m here to share the whole experience.
So, I have this SUV, and I’m really into kayaking. But, I needed a good way to haul my kayak around. I started looking into kayak carriers, and boy, there are a ton of options out there. It was a little overwhelming, to be honest.
Figuring Out What I Needed
First, I had to figure out what kind of carrier I actually needed. I did a bunch of reading online, watched some videos, and checked out what other people were using. I looked at:
- J-cradles: These looked pretty popular, and they seemed like they’d hold the kayak securely.
- Stackers: These were interesting, as I could carry two kayaks, but I only have one, so seemed like overkill.
- Saddles: These were simple but I was worried about my kayak sliding around.
- Rollers: These help you load from the back, which I liked, but wasn’t sure if it was a must-have.
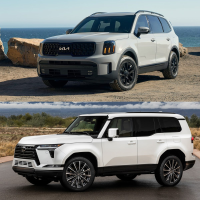
I also had to consider my SUV’s roof. Did it have factory crossbars? Side rails? Nothing at all? Turns out, mine had factory crossbars, which was good news. It meant I had a decent starting point.
Trying Stuff Out
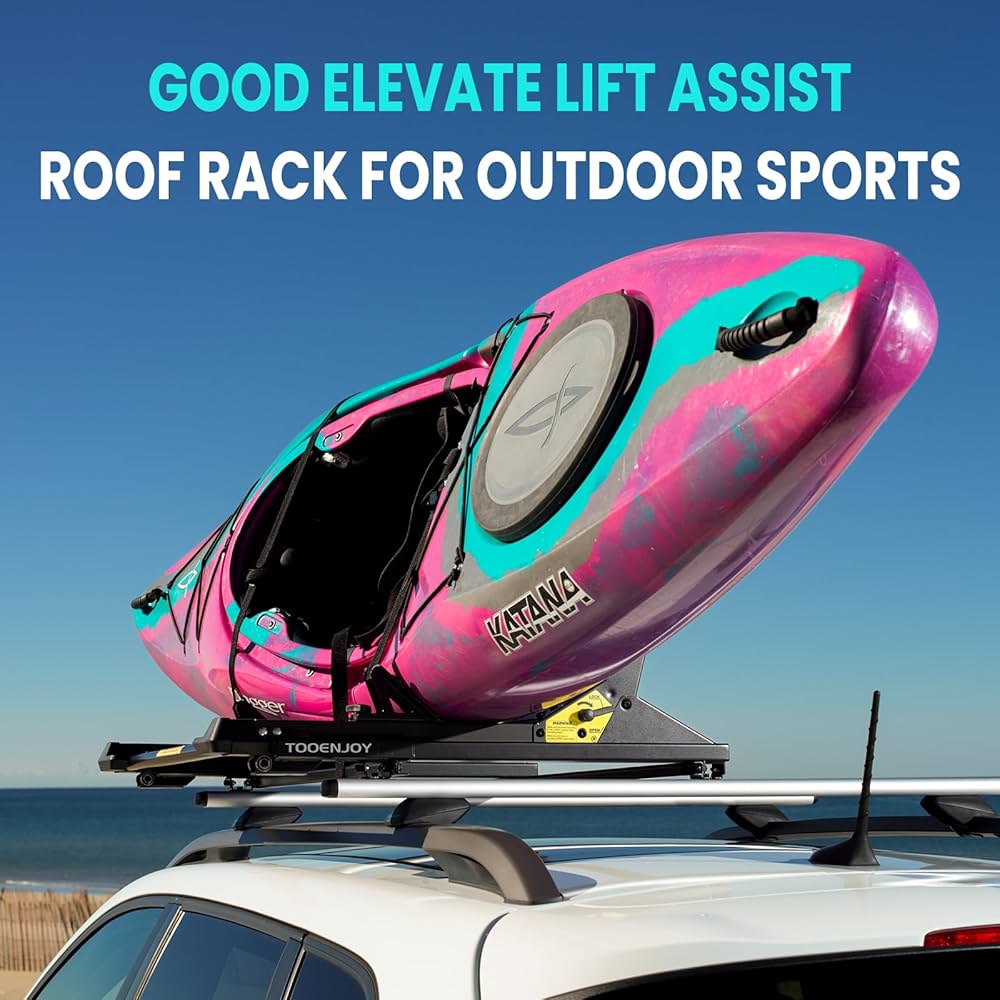
After all that research, I decided to go with a set of J-cradles. They seemed like the best balance of security and ease of use. I ordered a pair online, and when they arrived, I was eager to get them installed.
Installing them wasn’t too bad. The instructions were pretty clear, and it only took me about an hour to get everything set up. I made sure to tighten all the bolts properly. Didn’t want my kayak flying off on the highway!
The First Test Run
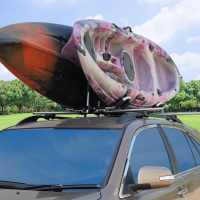
With the carrier installed, it was time for the real test: getting my kayak up there. This was the part I was most nervous about. I’m not the strongest guy, and kayaks are kind of awkward to lift.
I managed to get the kayak up onto the cradles without too much trouble. It was a bit of a struggle, but I did it. I strapped it down with the included straps, making sure everything was nice and tight. I even gave it a good shake to make sure it wasn’t going anywhere.
Then came the moment of truth: the drive. I took it slow at first, just around the neighborhood. I was listening for any weird noises or vibrations, but everything seemed solid. I gradually increased my speed and even took it on the highway for a short trip. Success! The kayak stayed put, and the carrier didn’t budge.
Lessons Learned
Overall, I’m pretty happy with my kayak carrier setup. It’s made it so much easier to transport my kayak, and I feel confident that it’s secure. Here are a few things I learned along the way:
- Do your research! There are tons of different carriers out there, and it’s important to find one that fits your needs and your vehicle.
- Read the instructions carefully. Even if you’re handy, it’s always a good idea to follow the manufacturer’s recommendations.
- Take your time loading and unloading. Kayaks can be heavy and awkward, so don’t rush it.
- Check your straps regularly. Make sure they’re tight and in good condition.
So, that’s my story about getting a kayak carrier for my SUV. It wasn’t too complicated, but it did take a bit of planning and effort. Now, I’m ready to hit the water whenever I want, and that’s a great feeling!


