Well now, if you’re lookin’ to paint that gas tank on your motorcycle, ya gotta make sure it’s done right. Ain’t no good just slappin’ any ol’ paint on it, ‘specially when it’s gonna be exposed to gas, oil, and all sorts of dirt. You need somethin’ tough and durable. So, let me tell ya what I know ’bout this whole gas-proof paint business.
First off, ya gotta think about what kinda paint to use. You can’t just go grabbin’ any paint off the shelf at the hardware store. Nah, you need somethin’ special that can handle the rough stuff, like gas and oil. The best kind for this is usually urethane paint. It’s real resistant to chemicals, fuel spills, and UV rays. That’s what you need on a motorcycle gas tank, where things can get messy and the sun’s always beatin’ down on it.
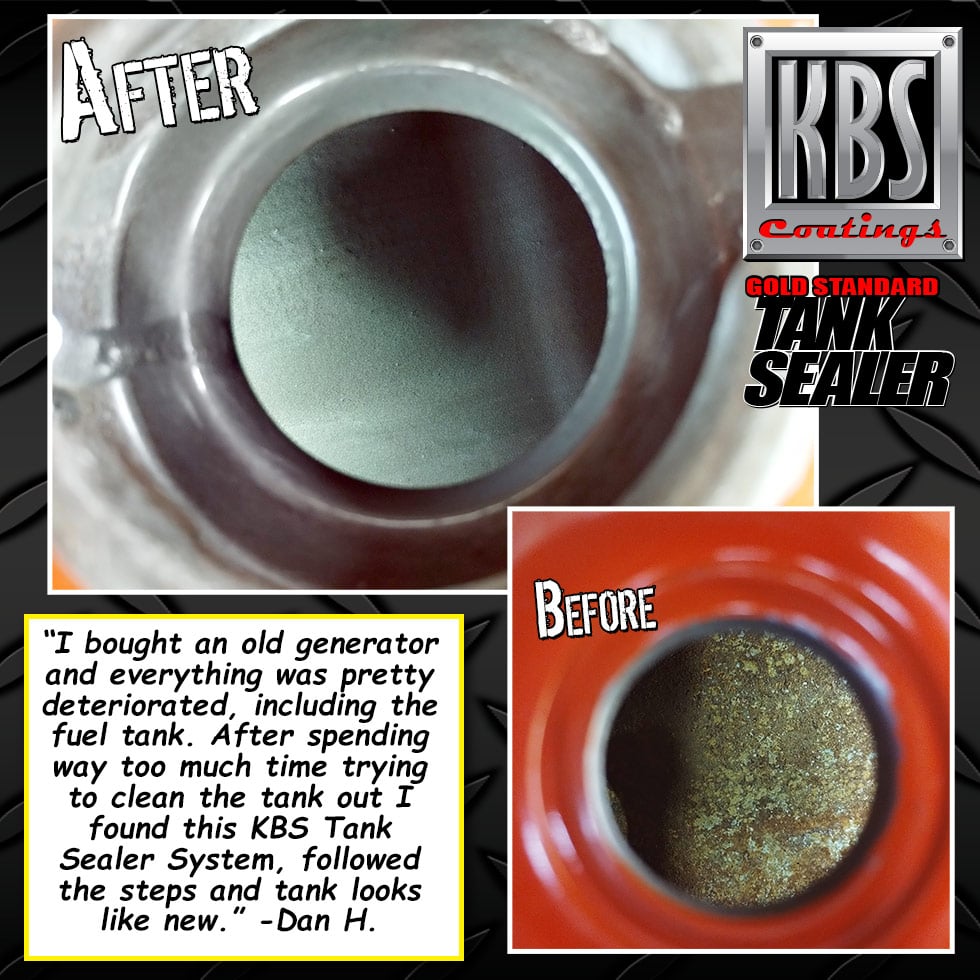
Now, if you ain’t too sure where to start, here’s a little tip: Rust-Oleum Engine Enamel is a good choice. It’s got a finish that resists oil, gas, grease, rust, and even salt. That’s important, ’cause you don’t want your tank rustin’ up after a few rains, do ya? This stuff will keep your tank lookin’ good for a long time, even through all the mess the road throws at it.
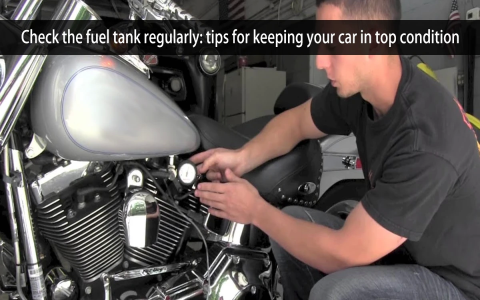
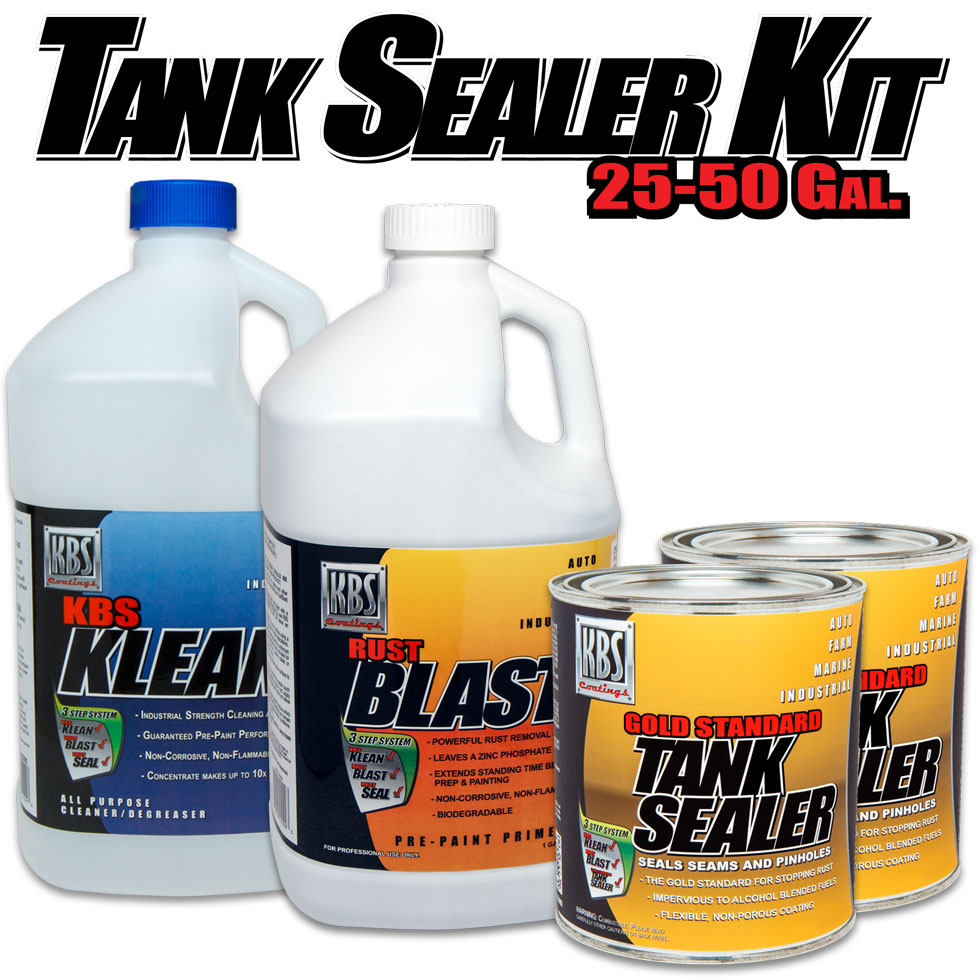
Once you got the paint picked out, you gotta get it ready. Start by cleanin’ that tank real good. Get rid of any dirt, grease, or oil that’s left on it. A dirty surface won’t hold paint right, and you don’t want that! Use a cleaner and degreaser, scrub it down good, and make sure it’s all dry before you start paintin’.
Next step: sanding. Yep, ya gotta sand it. Ain’t nobody got time for a bumpy, uneven surface, right? So, take some sandpaper and give it a good scrub. I usually start with a coarser grit to smooth out the bigger rough spots, then go with a finer grit to make it nice and smooth. It might take a little elbow grease, but it’ll be worth it when the paint sticks real good.
Once it’s all cleaned and sanded, you can start with the primer. Don’t skip this part! Primer helps the paint stick and gives a better finish. Use a spray primer, and make sure ya hold the can a little way back from the tank. Too close, and it’ll just drip and mess up the surface. After that, let it dry, and then do a quick sanding over the primer just to make it smooth again. Then you’re ready for paint!
Now comes the fun part – painting! Use a good spray paint that’s made for gas tanks, like that Rust-Oleum I mentioned before, or something like the Spray Max 2K High Gloss Finish. This stuff gives a shiny, durable finish that’ll make your tank look brand new. Make sure you spray in light, even coats, and don’t rush it. Let each coat dry for a little bit before adding another one. Two or three coats should do the trick.
But hey, if you want your tank to shine like a mirror, you gotta put a clear coat on it too. It’ll seal all that paint in and give it a nice glossy finish. Some folks even add little decorative touches like pinstripes or decals, if that’s your style. It ain’t necessary, but it sure looks pretty if you ask me.
Now, after all that paintin’, you gotta let it dry and cure. Don’t rush this part, either. The paint needs time to harden up proper, or it’ll just chip off when you least expect it. Leave the tank alone for a couple of days, let it fully cure, and then you’ll be good to go.
All in all, painting your motorcycle’s gas tank ain’t too hard, but it takes a little time and patience. You gotta pick the right materials, do the prep work, and take your time with the painting. But once it’s all done, you’ll have yourself a nice, durable finish that can stand up to the rough road ahead. So, get yourself set up, and give that gas tank the treatment it deserves!
Tags:[gas proof paint, motorcycle gas tank, urethane paint, Rust-Oleum Engine Enamel, motorcycle paint job, spray paint, primer, clear coat, painting motorcycle tank, DIY motorcycle tank paint]


