
Okay, so I needed a toolbox for my pickup, you know, to keep all my stuff organized and safe from the weather and sticky fingers. I looked around online, but man, there are so many options out there, it’s kind of overwhelming.
I started by checking out those heavy-duty aluminum ones. They looked tough as nails, like the VEVOR and Garvee ones I saw mentioned online. Diamond plate finish, side handles, locks, the whole nine yards. Seemed pretty solid, but I wasn’t sure if they were overkill for my needs. They’ve got options for different truck brands too, like Toyota Tacomas and Ford F-150s, so that’s a plus.
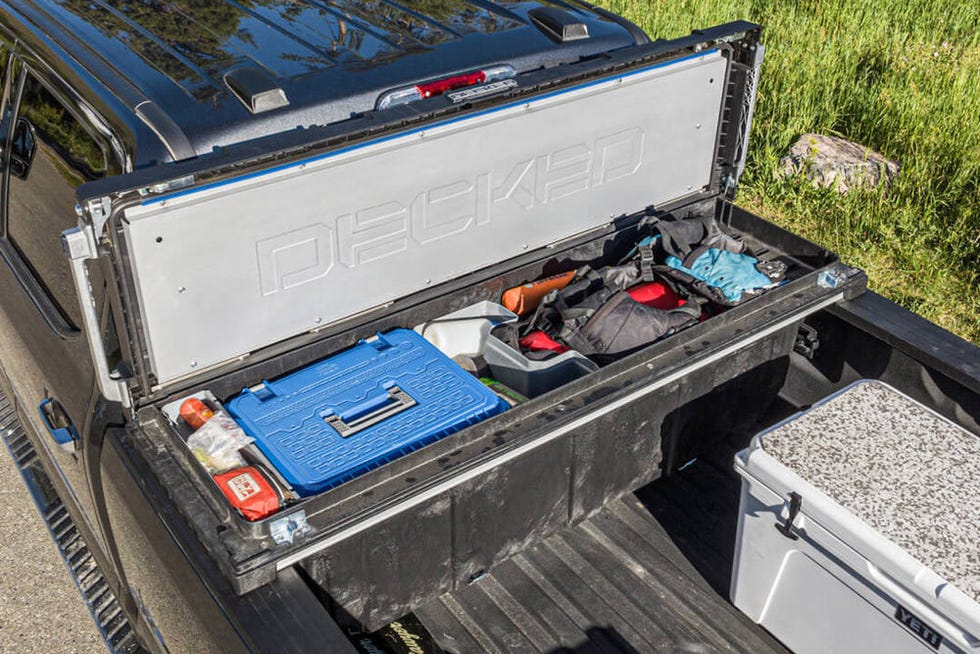
Then I started thinking about how I was going to install it. The most common type seems to be the crossover or saddle box, which sits on the bed rails near the cab. I measured my truck bed’s width to make sure whatever box I got would fit snugly. They say you need at least 1.5 inches of the toolbox resting on each rail, or it won’t be secure.
I went with the crossover. First I tried to measure the truck bed. The first time I measured it, it was not very precise. Then I changed the measuring tool. I measured it a second time and it was still a little off. But I got the approximate size.I bought a crossover toolbox based on the size I measured.
Installation Process
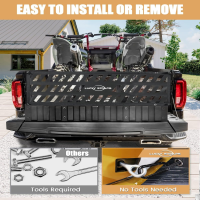
The actual installation was the next hurdle. I read that the best way to secure these things is by bolting them down. I placed the toolbox in my truck. But I found that there was not enough space. I took the toolbox out of the truck. I thought I had measured it wrong. I measured the toolbox and the truck bed again. I found that the measurement was correct. I tried to put the toolbox in the truck again. It still didn’t work. I re-adjusted the position. It worked. I could open the toolbox. Then I started drilling holes in the bed, which made me a little nervous, but I went slow and made sure everything was lined up right.
- First, I carefully positioned the toolbox on the bed rails, making sure it was centered and there was enough room to open the lid without hitting the cab.
- Next, I marked the spots where I needed to drill.
- Then, I drilled the holes, starting with smaller pilot holes and then using the right size bit for the bolts I had.
- After that, I lined up the toolbox with the holes and bolted it down, making sure to tighten everything evenly.
- Finally, I double-checked that the box was secure and that the lid opened and closed smoothly.
It took a bit of time and effort, but now I’ve got a sturdy toolbox in my truck bed. It’s a relief to have everything organized and protected. Plus, it looks pretty sharp, too!


