Okay, so, a few years back, I got this wild idea to turn my old SUV into a camper. I’d been seeing all these cool camper conversions online, and I thought, “Why not give it a shot?” I mean, I love camping, and I love my SUV, so it seemed like a match made in heaven. Plus, I’m a bit of a DIY enthusiast, so the challenge was definitely appealing.
First things first, I started doing some research. I looked up a bunch of different conversion kits, and let me tell you, there are a ton of options out there. Some are super fancy and expensive, with all the bells and whistles, while others are more basic and budget-friendly. I also started watching a bunch of videos about people who did DIY conversions, which was a good learning point. After a few weeks, I’ve got some basic knowledge and can start my project.
I decided to go the DIY route because, honestly, it’s way cheaper. I figured I could save a bunch of money by doing all the work myself, and I also had to be picky about comfort. You know, I didn’t need anything super luxurious. Just a basic setup that would let me sleep comfortably and store my gear.
The first step was to take some measurements. I had a bunch of different measurements of my SUV’s cargo area. Then I started sketching out some designs. I knew I wanted a bed platform with storage underneath, so I spent a lot of time figuring out the best way to build that.
After I had a solid plan, I went out and bought some materials. I used mostly plywood for the bed platform and some basic hardware from the local hardware store. I also picked up some cheap foam mattresses from a discount store, which would later on become my makeshift mattress in the camper.
Building the Bed Platform
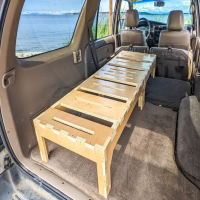
Building the bed platform was the biggest part of the project. I started by building a frame out of plywood, making sure it was sturdy enough to support my weight. Then I added some supports in the middle to prevent it from sagging. It looks like a big box at the moment. I also cut out some plywood panels to create the storage compartments underneath, I chose to make two separate compartments for storage, which could be better for organization.
- Measure and cut plywood for the frame.
- Assemble the frame using screws and glue.
- Add supports to the middle of the frame.
- Measure and cut plywood for the storage compartments.
- Assemble the storage compartments.
- Attach the storage compartments to the frame.
Once the platform was built, I gave it a quick test run. I laid down on it to make sure it was comfortable and that it could hold my weight without any issues. It felt pretty solid, so I was happy with that. But I still need to do a lot of optimization.
The Final Touches
After the platform was done, I added some finishing touches. I put down a layer of carpet on top of the plywood to make it a bit more comfortable, and I also added some curtains to the windows for privacy. And I added some hooks and bungee cords to keep my gear organized.
It wasn’t perfect, but it was functional. And it was definitely way cheaper than buying a pre-made conversion kit. In total, I probably spent around $300 on the whole project, which is a steal compared to the thousands of dollars you can spend on a professional conversion.
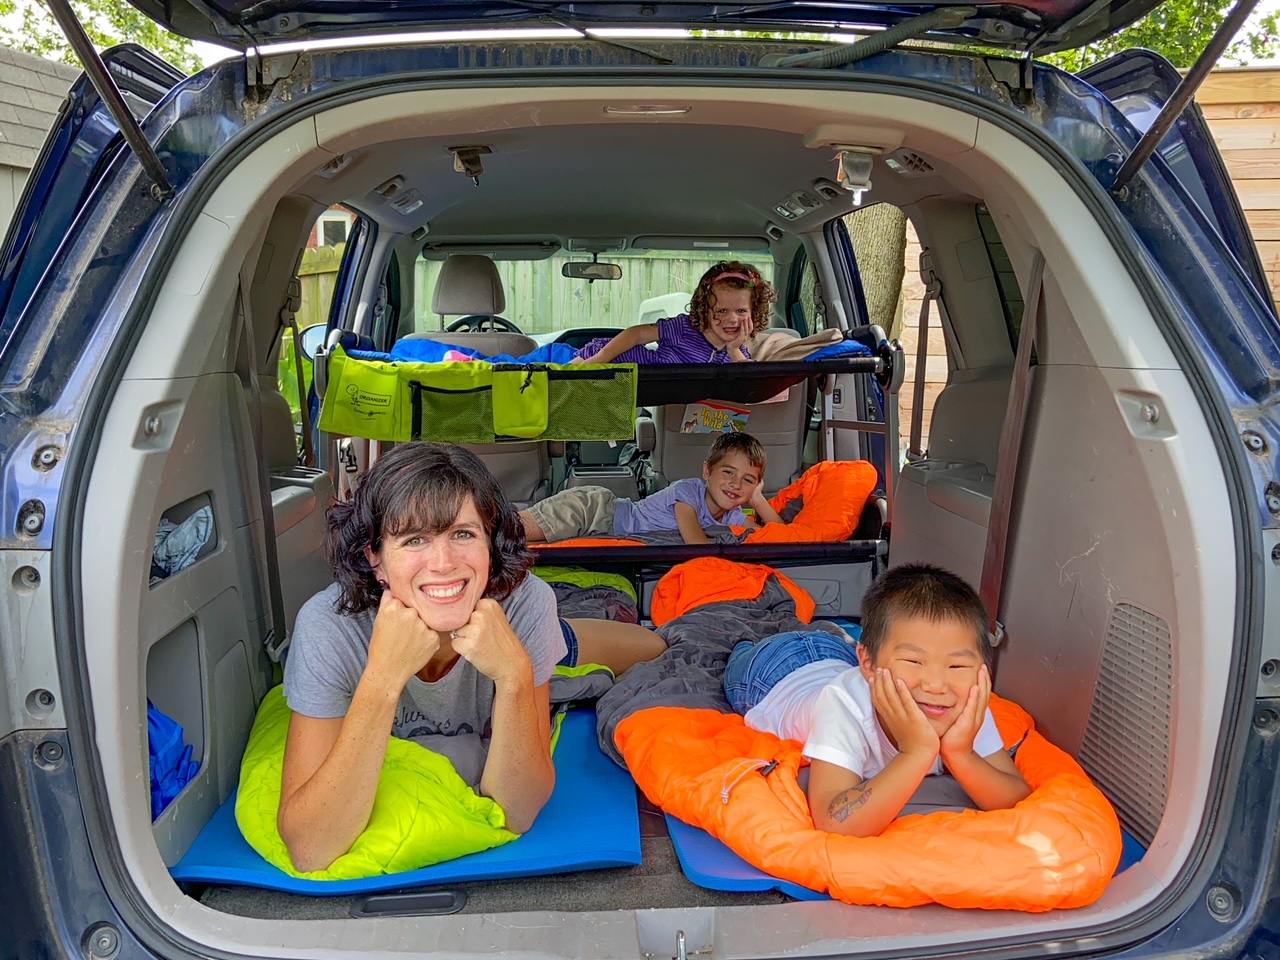
I’ve taken my SUV camper on a few trips now, and it’s been great. It’s not the most luxurious setup, but it’s cozy and it gets the job done. I love being able to just throw my gear in the back and hit the road whenever I want. And I’m proud of the fact that I built it all myself. I would like to make it into an RV in the future, which has more functions and is more convenient, but that’s a project for another time. At the moment, I am satisfied with my little home on the road.


