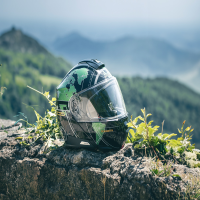
Okay, folks, let’s talk about my little weekend project: building a trailer for my furry best friend to ride along on motorcycle trips.
It all started because I love taking my dog, Max, everywhere with me. But, you know, a motorcycle isn’t exactly built for a canine companion. I’d tried those backpack carriers, but Max is a chunky boy, and it just wasn’t comfortable for either of us on longer rides. So, I figured, why not build a trailer?
Getting Started
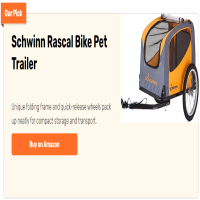
First, I scoured the internet for ideas. I saw some pretty fancy (and expensive!) commercially-made trailers, but I wanted something simple, sturdy, and, well, cheap. I’m no engineer, but I’m pretty handy with tools, so I felt confident I could cobble something together.
I decided to base my design on a small utility trailer frame I found at a local hardware store. It was the perfect size, and it already had wheels and an axle – major components sorted!
Building the Base
Next up, I needed a solid base for Max to sit on. I picked up some sturdy plywood and cut it to fit the trailer frame. I made sure to sand down the edges nice and smooth, so no splinters for the pup!
- Plywood: 1 sheet, about 1/2 inch thick.
- Screws: Lots of ’em, exterior grade.
- Sandpaper: Various grits, for a smooth finish.
I screwed the plywood onto the trailer frame, making sure it was really secure. I even jumped on it a few times to test its strength – had to be Max-proof, you know?
Creating the Enclosure
Now for the sides. I wanted something that would keep Max safe and contained, but also allow him plenty of airflow and visibility. I opted for some heavy-duty wire mesh, the kind you might use for a garden fence.
I measured and cut the mesh to create four sides, leaving an opening at the back for a “door.” I used metal U-brackets and more screws to attach the mesh to the plywood base and to each other. This part was a bit fiddly, and I definitely pricked my fingers a few times, but I got there in the end.
For the door, I simply hinged a section of the mesh and added a couple of latches to keep it securely closed.
Adding Comfort and Safety
Of course, I wanted Max to be comfy. I lined the base with a thick, padded dog bed, the kind that’s waterproof and easy to clean. I also added some eye bolts to the inside of the trailer so I could secure Max’s harness with a short leash – safety first!
The Finishing Touches
Finally, I added some reflective tape to the back and sides of the trailer for extra visibility. And, because I’m a little extra, I even painted a little “Max’s Ride” sign on the back. It is very cute!
The Test Ride
The moment of truth! I hooked up the trailer to my motorcycle (using a standard hitch, easy peasy) and coaxed Max inside with some treats. He was a little hesitant at first, but once we started moving, he seemed to love it! We took a short ride around the block, and he was just chilling, ears flapping in the wind. Success!
It’s not the prettiest thing in the world, but it’s functional, safe, and Max seems to enjoy it. And that’s all that matters, right? It’s a great way to take him with me. We’ve already planned a few longer trips, and I can’t wait to hit the road with my best buddy riding in style!


