Okay, so I’ve been wanting to get a retractable bed cover for my pickup for a while now. My old cover was just a basic soft tonneau cover, and honestly, it was a pain. It flapped around in the wind, wasn’t very secure, and taking it on and off was just…ugh. So I finally decided to take the plunge and get a retractable one.
First, I started doing some research. I looked at a bunch of different brands. Some were really expensive. I watched a few videos, read some reviews, and tried to figure out what features were actually important to me. I knew I wanted something durable, secure, and relatively easy to install (because, let’s be honest, I’m not the handiest person).
After what felt like forever, I finally settled on one. It was a good middle-ground on price, and the reviews seemed solid. I ordered it, and it arrived a few days later in this HUGE box. Seriously, it was massive.
The Installation (aka “The Fun” Part)
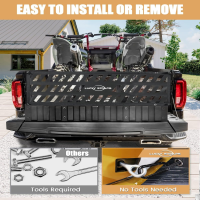
Okay, so installation day arrived. I cleared out my garage, grabbed my tools (which mostly consisted of a wrench and a screwdriver), and laid out all the parts. The instructions looked…intimidating. Lots of diagrams and tiny little screws.
- Step 1: Unpack everything and make sure you have all the parts. This sounds obvious, but trust me, it’s worth doing. I had a minor freak-out moment when I thought I was missing a rail, but it turned out it was just tucked inside another part.
- Step 2: Attach the side rails. This was actually pretty straightforward. They just clamped onto the bed rails of my truck. The key was to make sure they were aligned properly and tightened down evenly. I used a level to double-check everything, because, you know, I wanted it to be perfect.
- Step 3: Install the canister. This is the part that holds the retractable cover when it’s rolled up. It was a bit heavy and awkward to maneuver, but I managed to get it into place.
- Step 4: Attach the cover to the rails. This involved sliding the cover along the rails and securing it with some screws. This was a bit fiddly, but nothing too crazy.
- Step 5: Test it out! I rolled the cover back and forth a few times to make sure it was working smoothly. There were a few adjustments I had to make to get the tension just right, but eventually, it was perfect.
Honestly, the whole installation process took me a few hours, but it wasn’t as bad as I thought it would be. There were a couple of moments where I got frustrated, but I just took a deep breath and kept going.
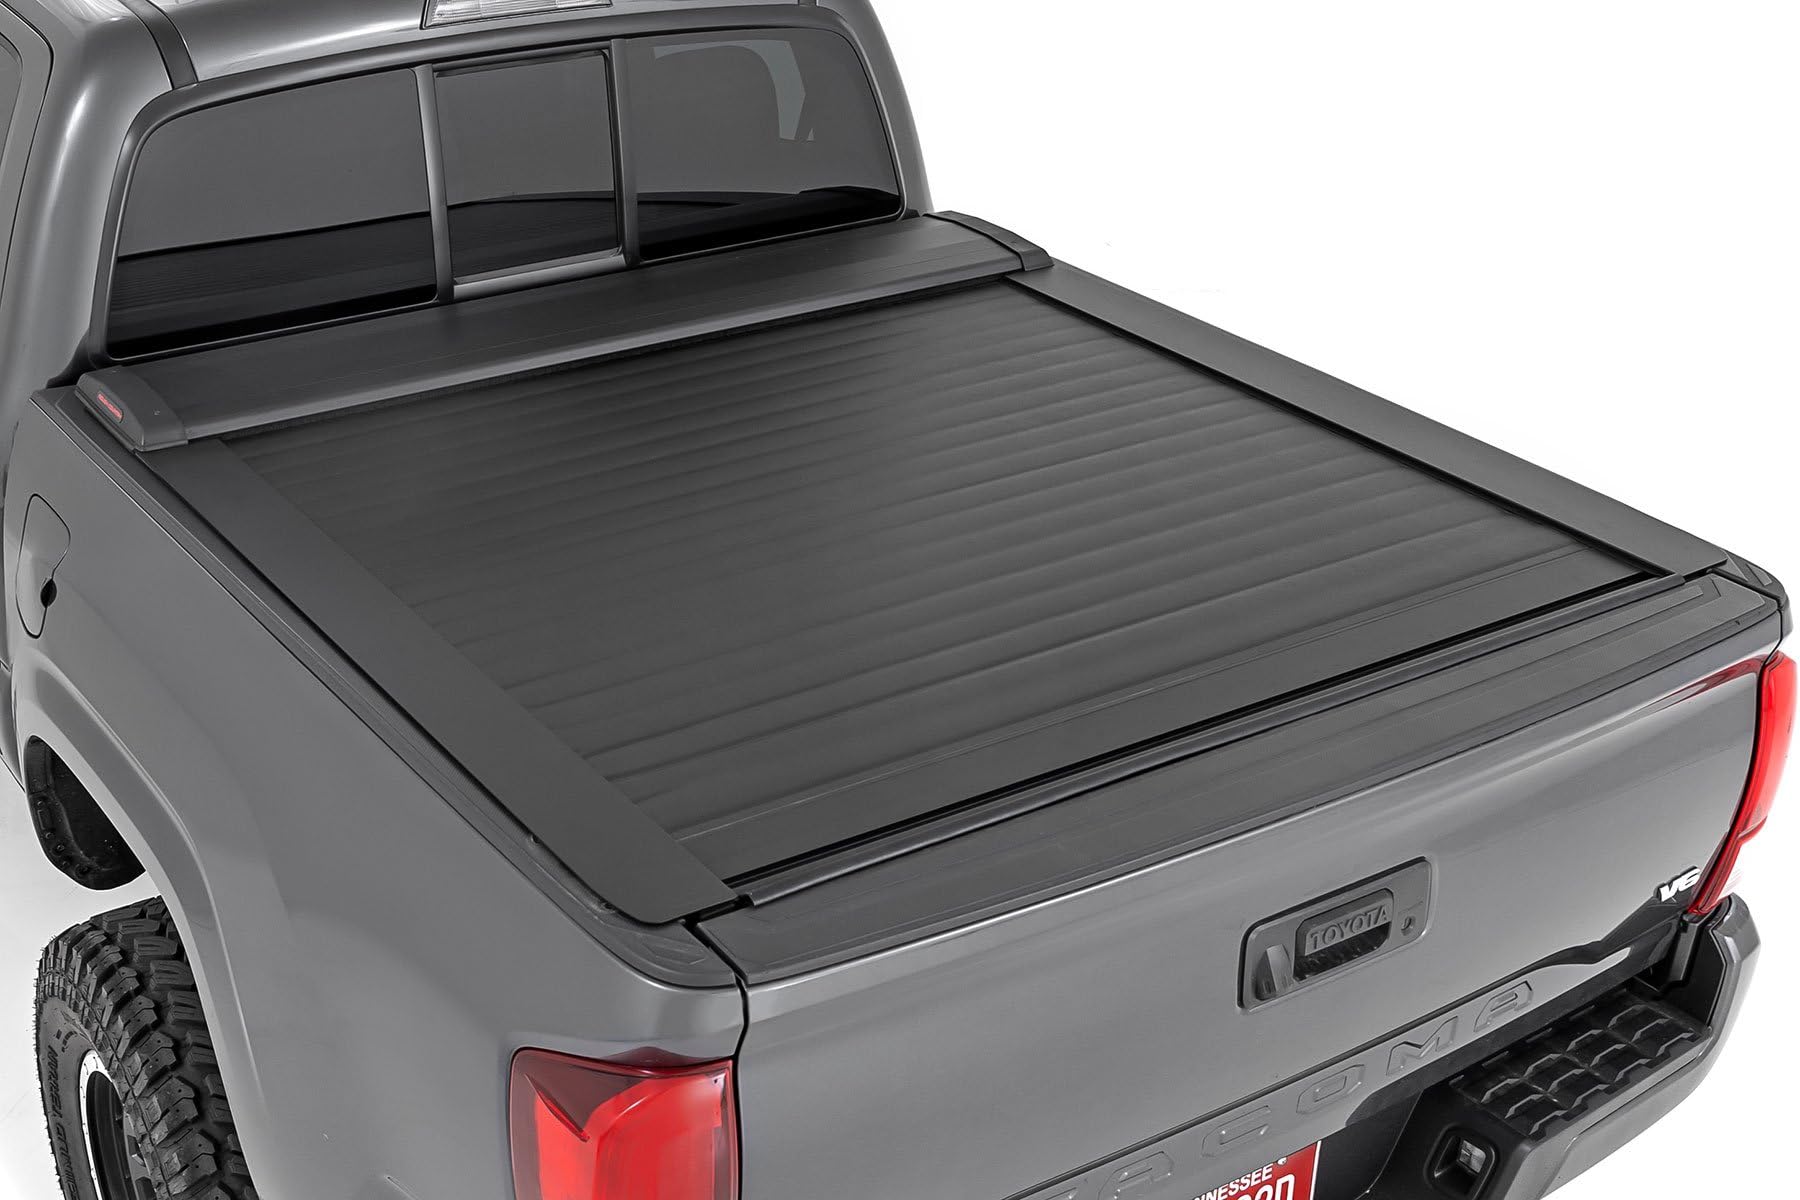
Now that it’s installed, I’m loving it. It’s so much easier to use than my old cover, and it looks way better too. Plus, I feel like my stuff is more secure in the truck bed. It’s definitely been a worthwhile upgrade. If you are thinking do it,just do it!