Okay, here’s my blog post about setting up a back seat cover for my SUV, written in a casual, first-person style:
So, the back seat of my SUV was starting to look, well, pretty rough. Between the dog, kids’ snacks, and the occasional muddy gear, it was a disaster zone. I finally decided enough was enough and it was time to get a seat cover.
Picking the Right One
First things first, I needed to find a cover that would actually fit. I have a [Your SUV Make and Model], so I made sure to double-check the sizing. I went with a “universal” one, hoping for the best… which, spoiler alert, worked out fine, but I was a little nervous!
The Installation Process
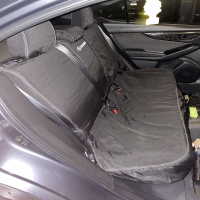
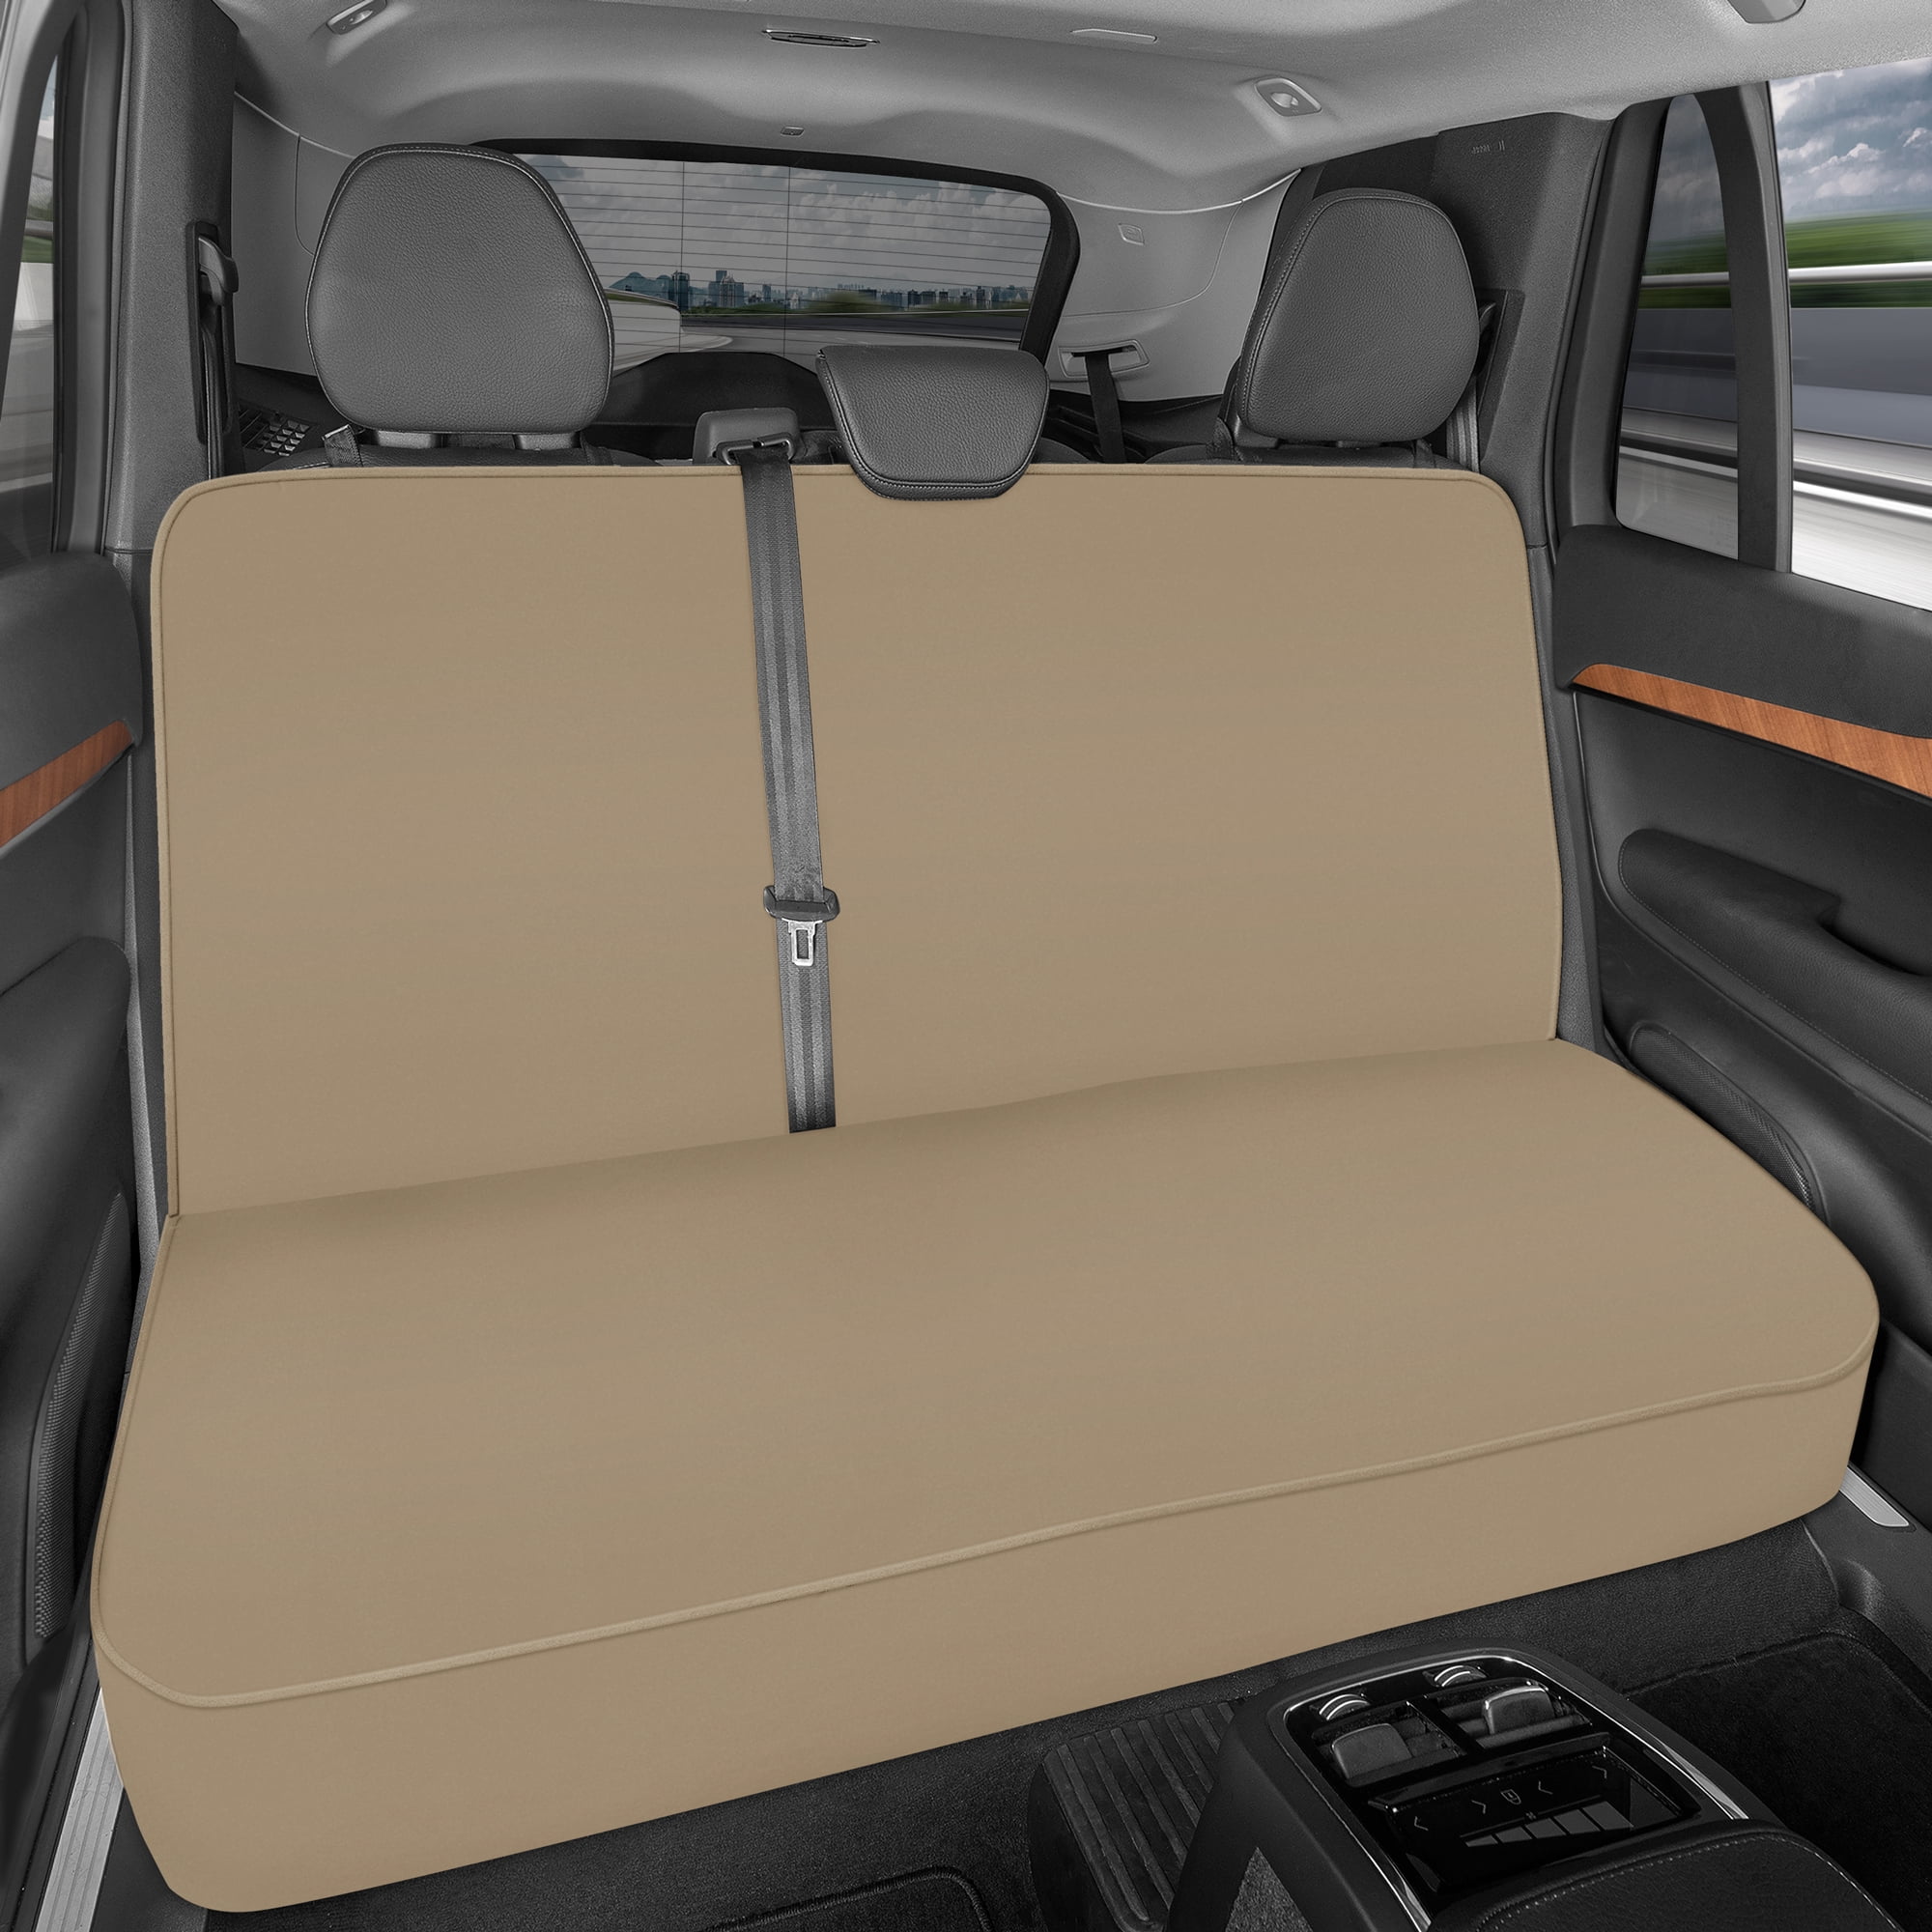
- Step 1: The Dreaded Unboxing. Okay, it wasn’t that bad. Just a big folded-up piece of fabric. I spread it out in the back seat to get my bearings.
- Step 2: Headrest Wrangling. This was probably the trickiest part. The cover had these straps that were supposed to loop around the headrests. I had to fiddle with them a bit to get them snug, and make sure the cover sits correctly.
- Step 3: Buckle Up! No, I mean, literally. The cover had cutouts for the seatbelts, which is super important for safety. I made sure those were all lined up and easy to access.
- Step 4: Tucking and Smoothing.There were some extra flaps and elastic bands.I tucked these into the crevices of the seat to make the cover fit more securely. I smoothed everything.
Final touches
I added extra support and some accessories and cushions for comfort.
The Verdict
Honestly, it was way easier than I expected! The whole thing took me maybe 20 minutes, tops. And the back seat looks so much better. No more worrying about every little crumb or muddy paw print. Plus, the cover I got is water-resistant, which is a major bonus. Now, I can relax a little more and not stress about every little mess. Success!


