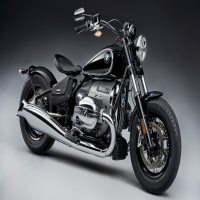
Okay, so I’ve been wanting to upgrade the air cleaner on my RC motorcycle for a while now. The stock one was just…blah. It did the job, I guess, but it didn’t look cool, and I suspected it wasn’t really helping with performance.
First, I took off the old air cleaner. This was pretty straightforward – just a couple of screws and it popped right off. I made sure to keep those screws safe, because, you know, tiny screws love to disappear.
Finding the Right Replacement
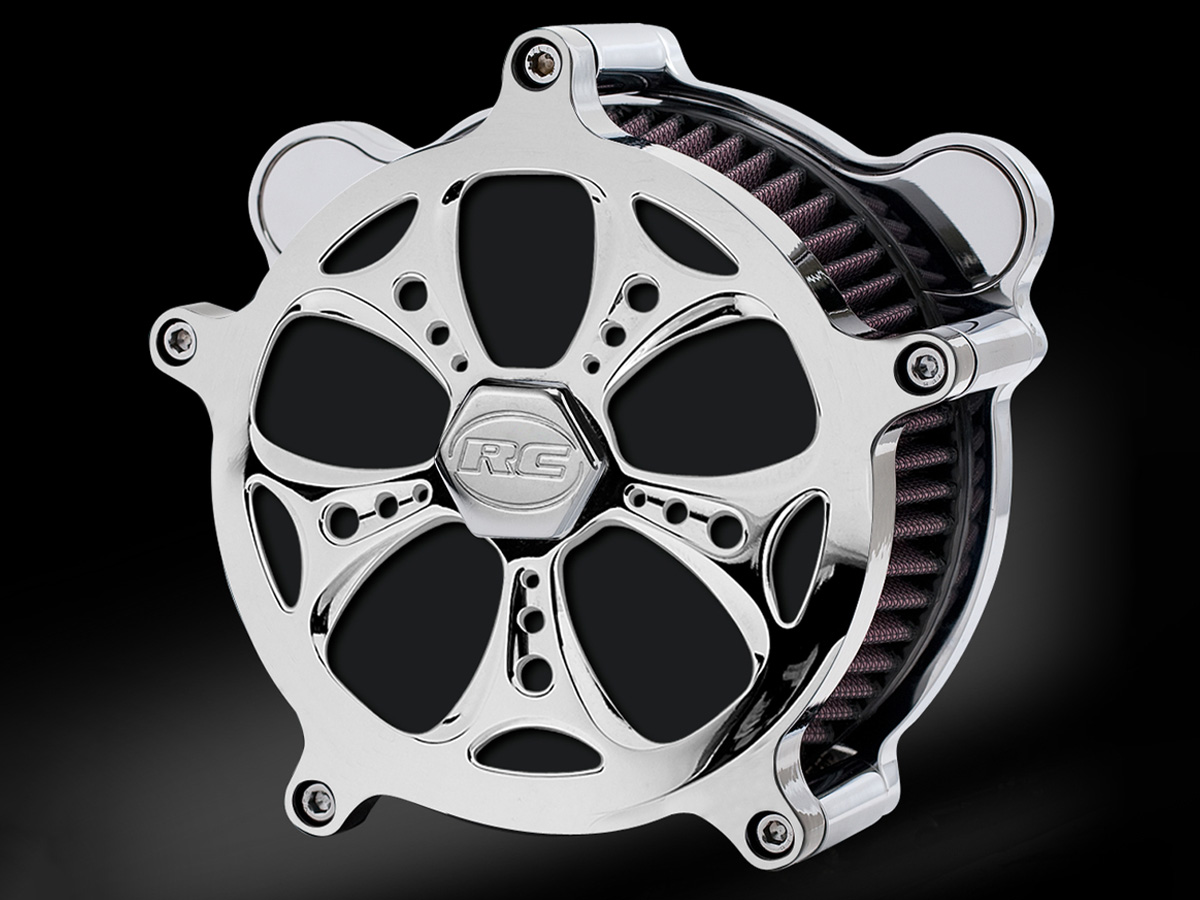
Next up, I did some digging online to find a replacement. I wanted something that looked a bit more aggressive and hopefully improved airflow. I checked out a few forums and reviews, and finally settled on one that seemed like a good fit for my bike and my budget.
The Installation Process
When the new air cleaner arrived, I was pretty excited. I unboxed it, checked that all the parts were there (always a good idea!), and grabbed my tools. I laid out the instructions and got to work.
- First I cleaned the area where the air cleaner attached.
I didn’t want any dirt or grime messing things up.
- Then I carefully fitted the new air cleaner onto the carburetor. It was a bit snug, but I took my time, and made sure to align the mounting.
- Finally, I tightened down all the screws, making sure everything was secure. I didn’t want this thing falling off mid-ride!
The Results
With the new air cleaner installed, I fired up the engine. It definitely sounded a bit throatier! I took it for a quick spin around the block, and it felt like it had a little more pep in its step. Plus, it just looked way cooler. Mission accomplished!
Overall, I’m pretty happy with how this little project turned out. It wasn’t too difficult, and it made a noticeable difference in both the look and feel of my RC motorcycle.


