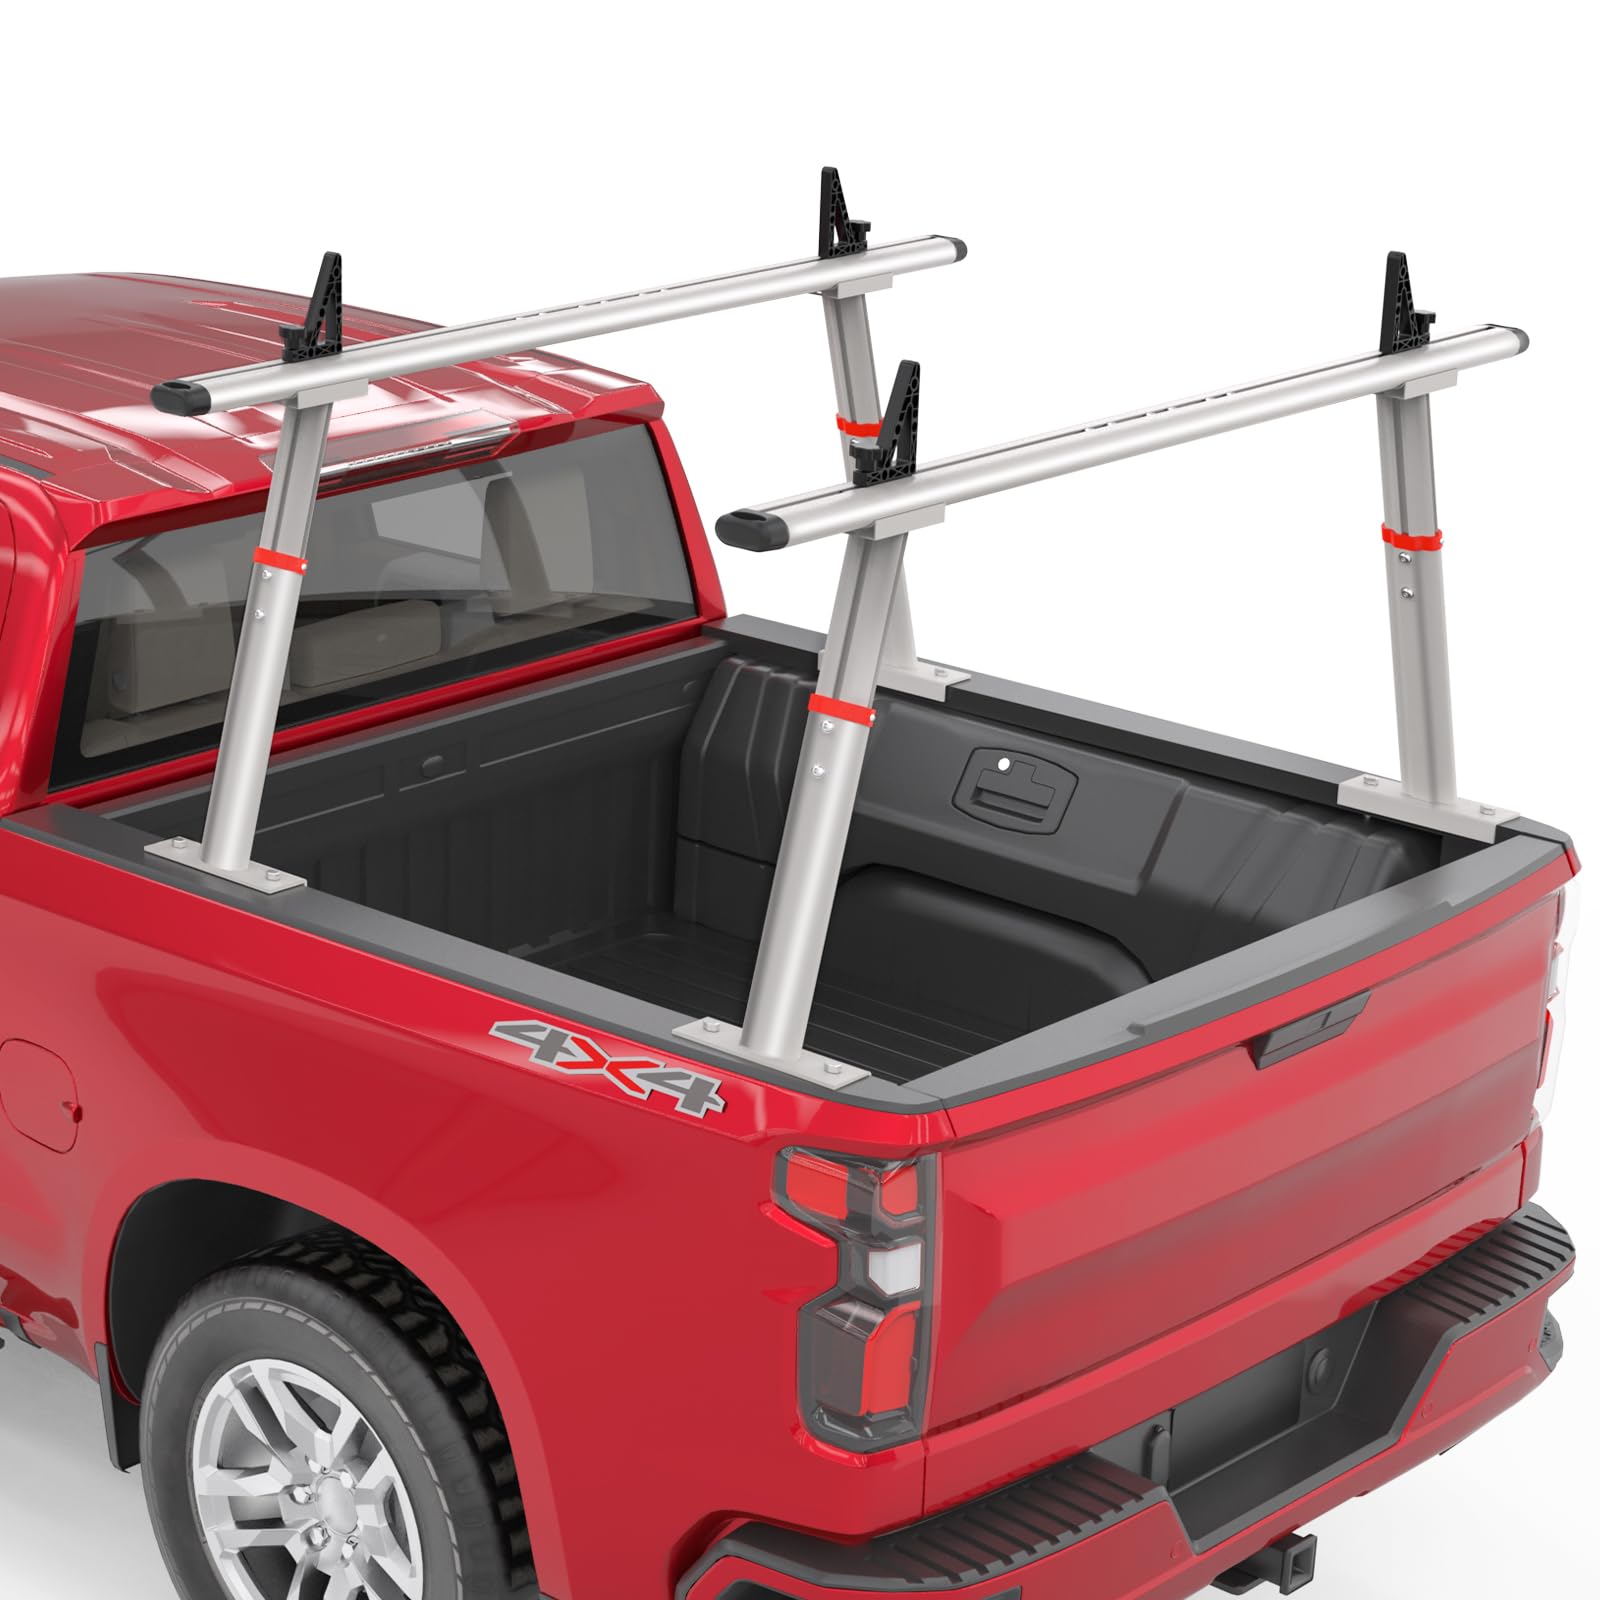
Okay, so I needed a way to haul longer stuff in my truck, like lumber and ladders, without them hanging way out the back. I decided to build a ladder rack. Here’s how it went down.

Figuring Out the Design
First, I looked at a bunch of different rack designs online. Some were super fancy, welded steel contraptions. Others were simpler, made from wood. I decided to go the wood route, mainly because it’s cheaper and I’m pretty comfortable working with wood.
I sketched out a basic design. Nothing too complicated – just two uprights on each side of the truck bed, connected by crossbars. The key was making it sturdy enough to handle the weight and also removable, so I could still use the truck bed for other stuff.
Gathering the Materials
I hit up the local hardware store and grabbed the following:
- Pressure-treated 2x4s for the main frame.
- Pressure-treated 2x6s for the base that would sit in the truck bed.
- A bunch of galvanized screws. (Gotta have those for outdoor use!)
- Some heavy-duty bolts and washers to connect the uprights to the base.
- Wood glue, just for extra strength.
Building the Base
I started by building the base. This was basically a simple rectangular frame made from the 2x6s. I measured the width of my truck bed and cut the lumber accordingly. I used both wood glue and screws to put it together, making sure everything was square and tight. I Clamped until glue get dry completely.
Making the Uprights
Next up were the uprights. I cut four 2x4s to the height I wanted – tall enough to clear the cab of the truck. I then cut some shorter 2x4s to act as crossbars, connecting the two uprights on each side. Again, I used wood glue and screws to make everything solid. And used metal corner braces added to ensure the frame strong enough to handle heavy stuff.
Putting It All Together
Now for the fun part – attaching the uprights to the base. I drilled holes through the bottom of the uprights and the base, and then used the bolts and washers to secure them. I made sure to tighten everything down really well. This is where the rack gets most of its strength.
Testing and Finishing Touches
Before I loaded anything heavy, I gave the rack a good shake to make sure it was stable. It felt pretty solid! I also added some eye bolts to the uprights so I could easily tie down whatever I was hauling.
Finally, I considered painting or staining the wood to protect it from the elements, but I decided to leave it natural for now. It’s got that rustic, “I built this myself” look, you know?
And that’s it! My homemade ladder rack. It’s not the prettiest thing in the world, but it’s functional and it saved me a bunch of money. Plus, I got the satisfaction of building it myself. Now I can haul all the long stuff I need without worrying about it sliding around or falling out. Success!


