Okay, here is my sharing about installing chrome bed rails for pickup trucks:
So I just got this new pickup truck, it’s a real beast! But the bed was kinda bare, you know? I wanted something to make it look nicer and also to help tie stuff down better. That’s when I started thinking about bed rails. And chrome ones? Man, those would look sharp.
Getting Started
First, I went online and started looking at different bed rails. There are a bunch of options out there. Some are just plain black, some are stainless steel, and then there’s the chrome. I liked the look of chrome and I’ve had chrome on older vehicles. The chrome ones caught my eye for sure.
Choosing the Right Rails
Picking the right ones was a bit of a chore. I had to make sure they’d fit my truck’s bed, it’s not a one-size-fits-all thing. There are different lengths and styles. After reading a ton of descriptions and reviews, I finally found a set that seemed like a good match. I double-checked the measurements and hit that “Buy Now” button.
The Arrival
A few days later, a big box showed up at my door. It was heavier than I expected! I dragged it to the garage and opened it up. Inside, there were these shiny chrome rails, all wrapped up carefully. And a bag of hardware, of course – bolts, nuts, brackets, the works. Also, there was an instruction booklet, thankfully.
Prepping for Installation
Before I started bolting things on, I read through the instructions a couple of times. Seemed straightforward enough. The first step was to clean the top edges of the truck bed where the rails would sit. I grabbed a bucket of soapy water and a sponge and gave it a good scrub. Gotta make sure there’s no dirt or grime that could get trapped under the rails.
The Installation Process
- Positioning the Rails: I laid out the rails along the bed edges to get an idea of where they’d go. The instructions said to measure and mark where the mounting holes should be. So I got out my tape measure and a marker and did just that.
- Drilling the Holes: This was the nerve-wracking part. I had to drill holes into my brand-new truck! I used a drill bit that was the right size for the bolts. Taking a deep breath, I started drilling. It went smoothly, surprisingly.
- Attaching the Brackets: With the holes drilled, I started attaching the mounting brackets. These were small metal pieces that would hold the rails in place. I lined them up with the holes and bolted them down. It took a little wiggling to get everything aligned just right.
- Mounting the Rails: Now for the fun part – putting the rails on! I lifted each rail and set it on the brackets. Then I started putting in the bolts. Some went in easily, others needed a bit of persuasion with a wrench.
The Finishing Touches
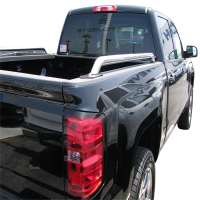
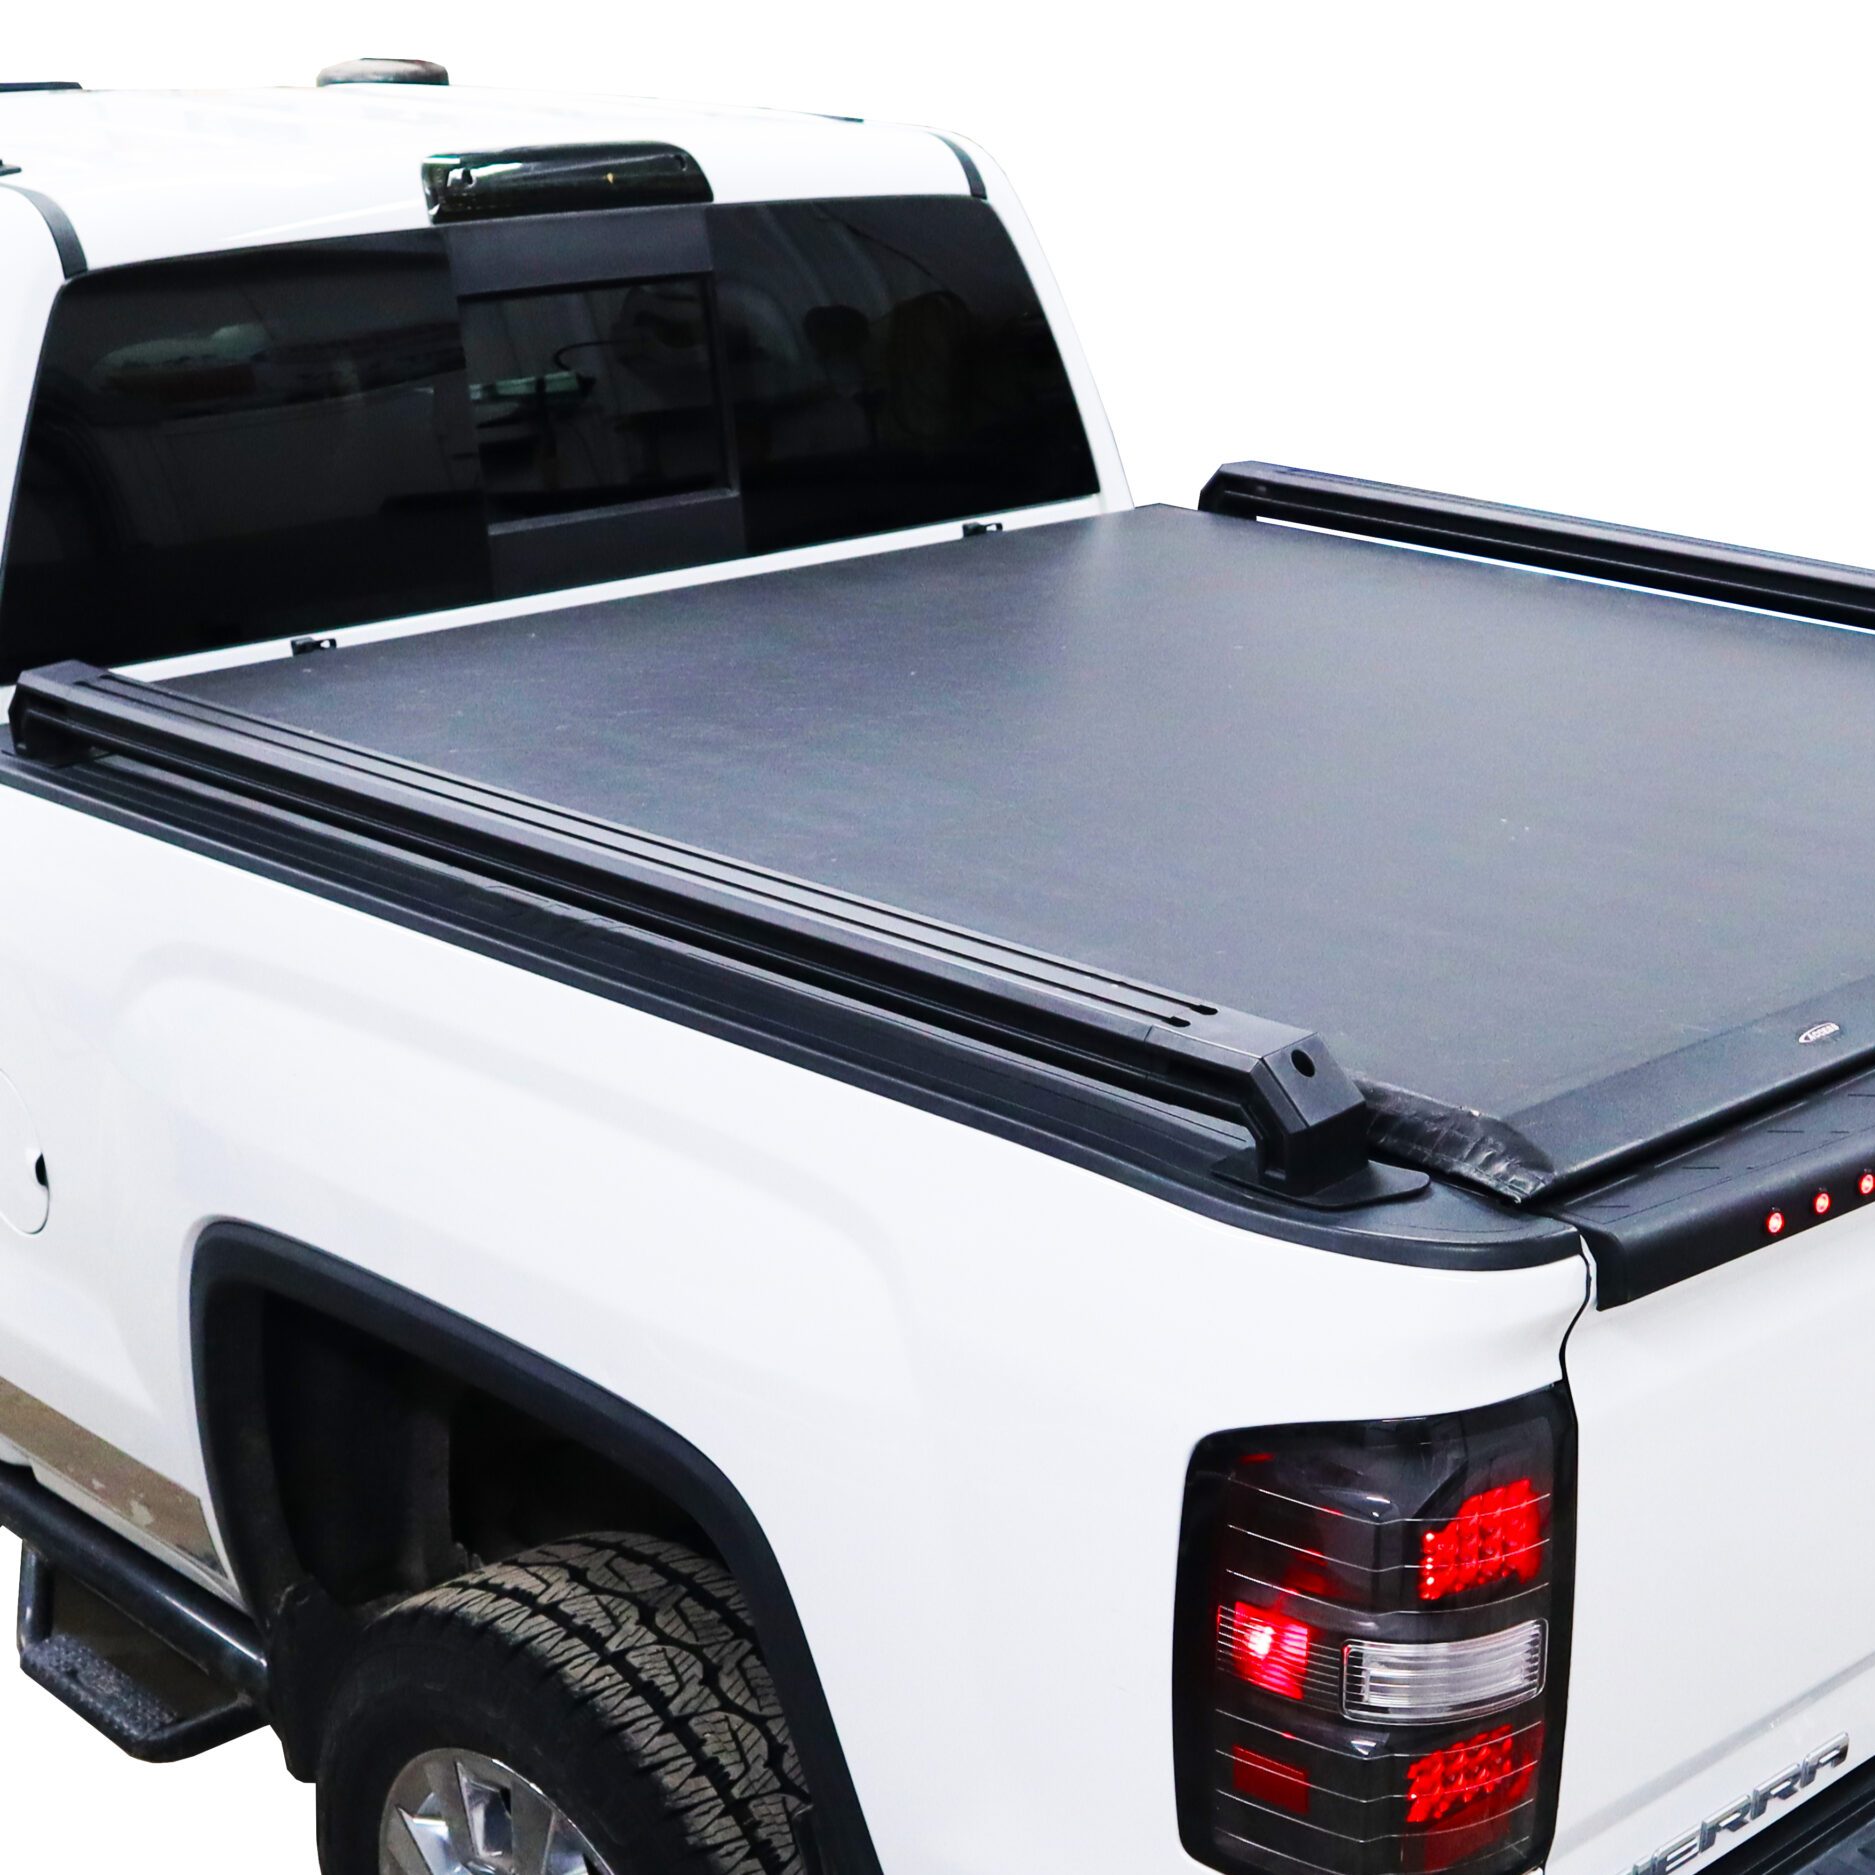
Once all the bolts were tightened, I stood back to admire my work. The chrome rails looked awesome! They added a real touch of class to the truck. I gave them a quick polish with a cloth to make them really shine.
It took me a few hours to get it all done, but it was totally worth it. Now I’ve got these sturdy, shiny chrome bed rails that make my truck look great and are super practical for hauling stuff. If you’re thinking about adding bed rails to your truck, I’d say go for it! Just make sure you get the right size, follow the instructions, and take your time. It’s a satisfying DIY project, for sure.


